BUILT-IN BEAUTY
Custom Closet Confidence at its best.
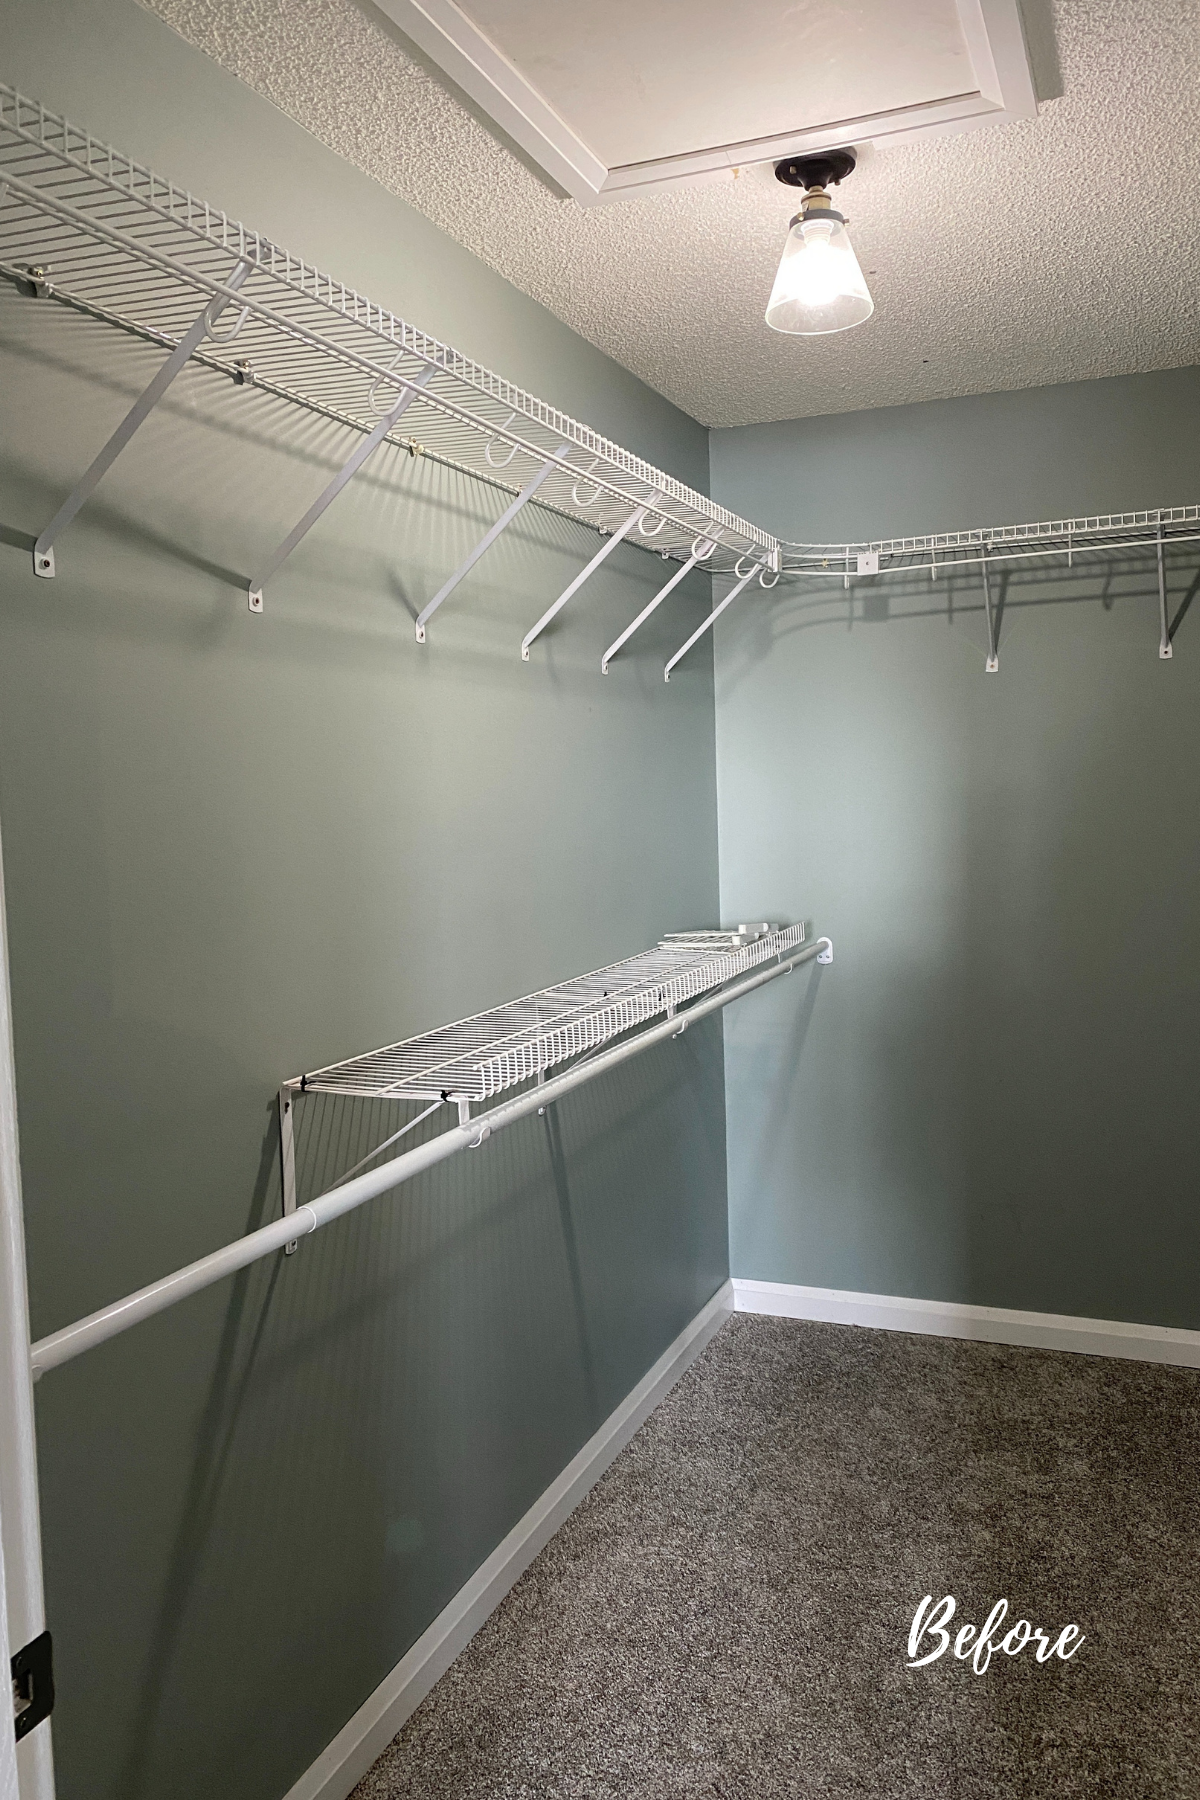
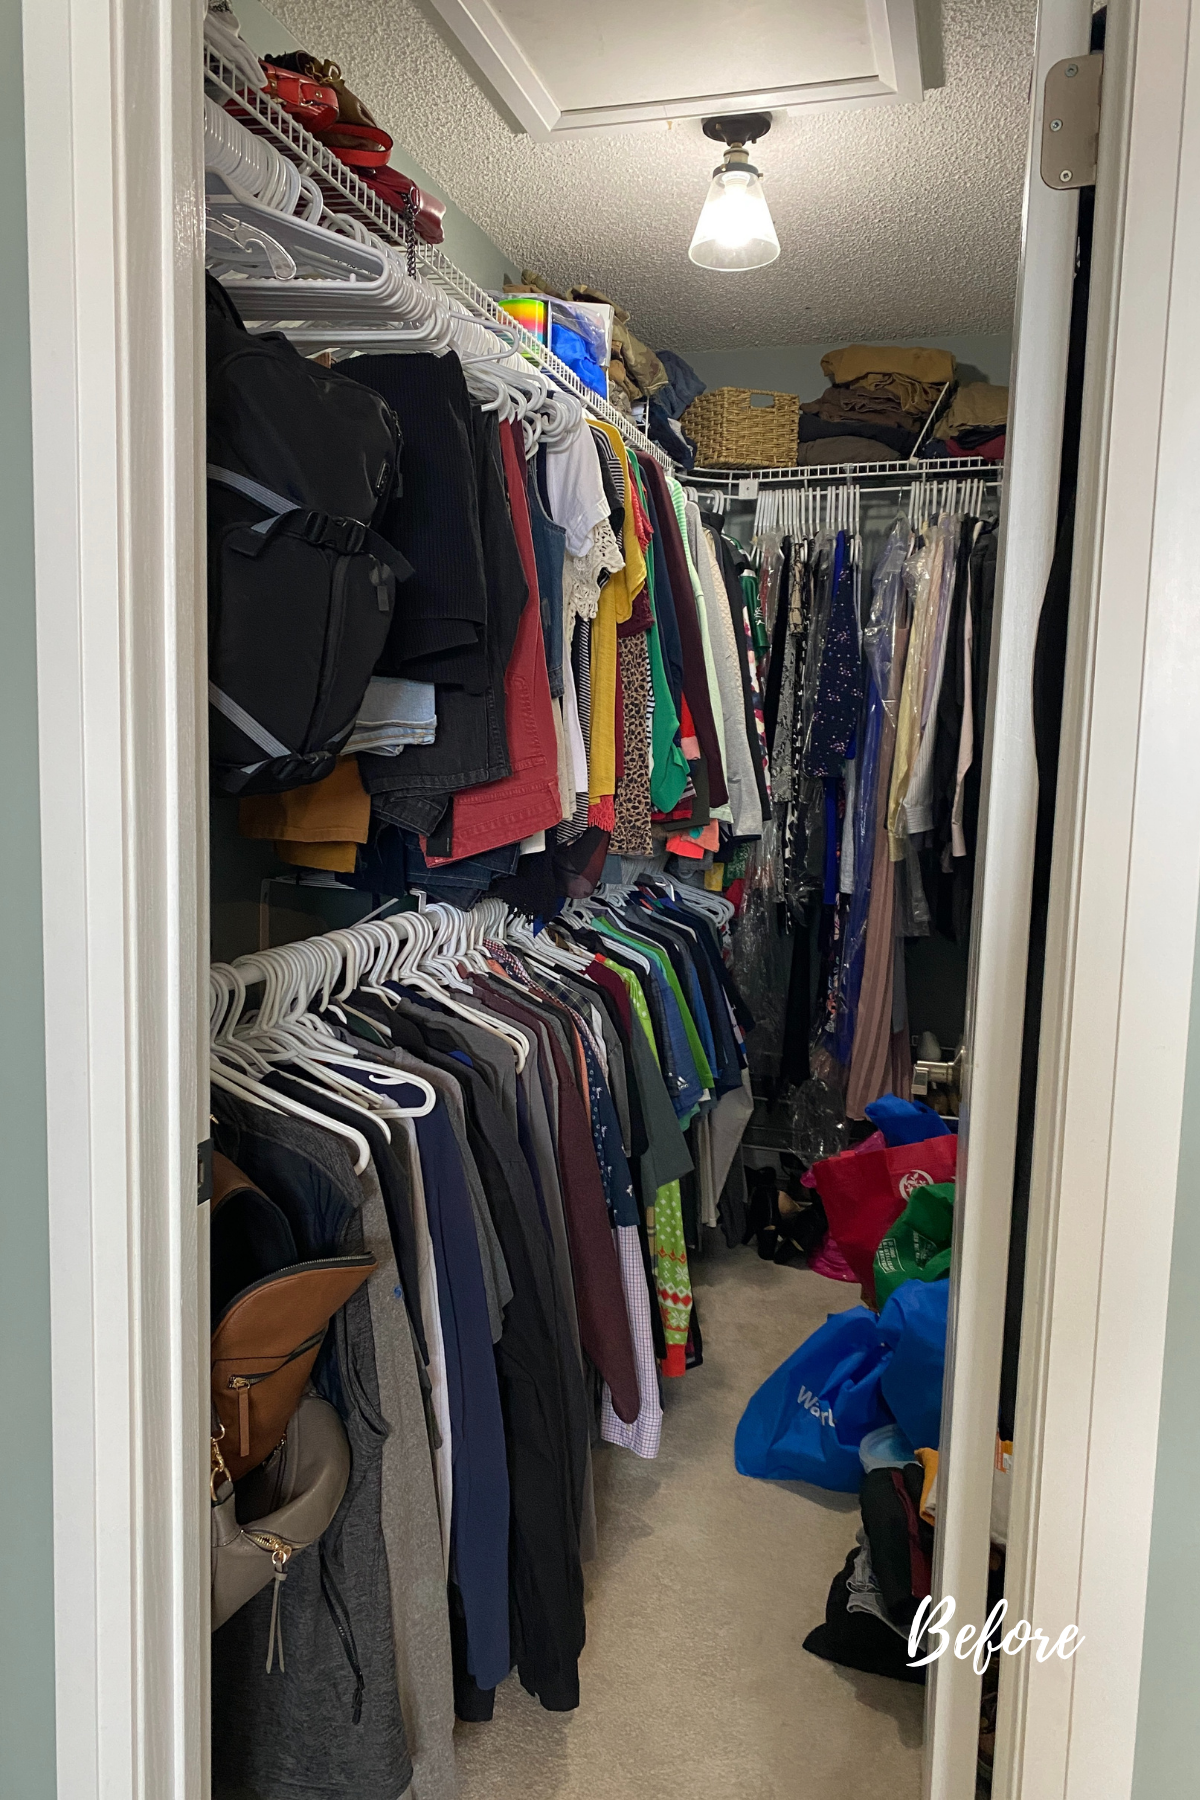
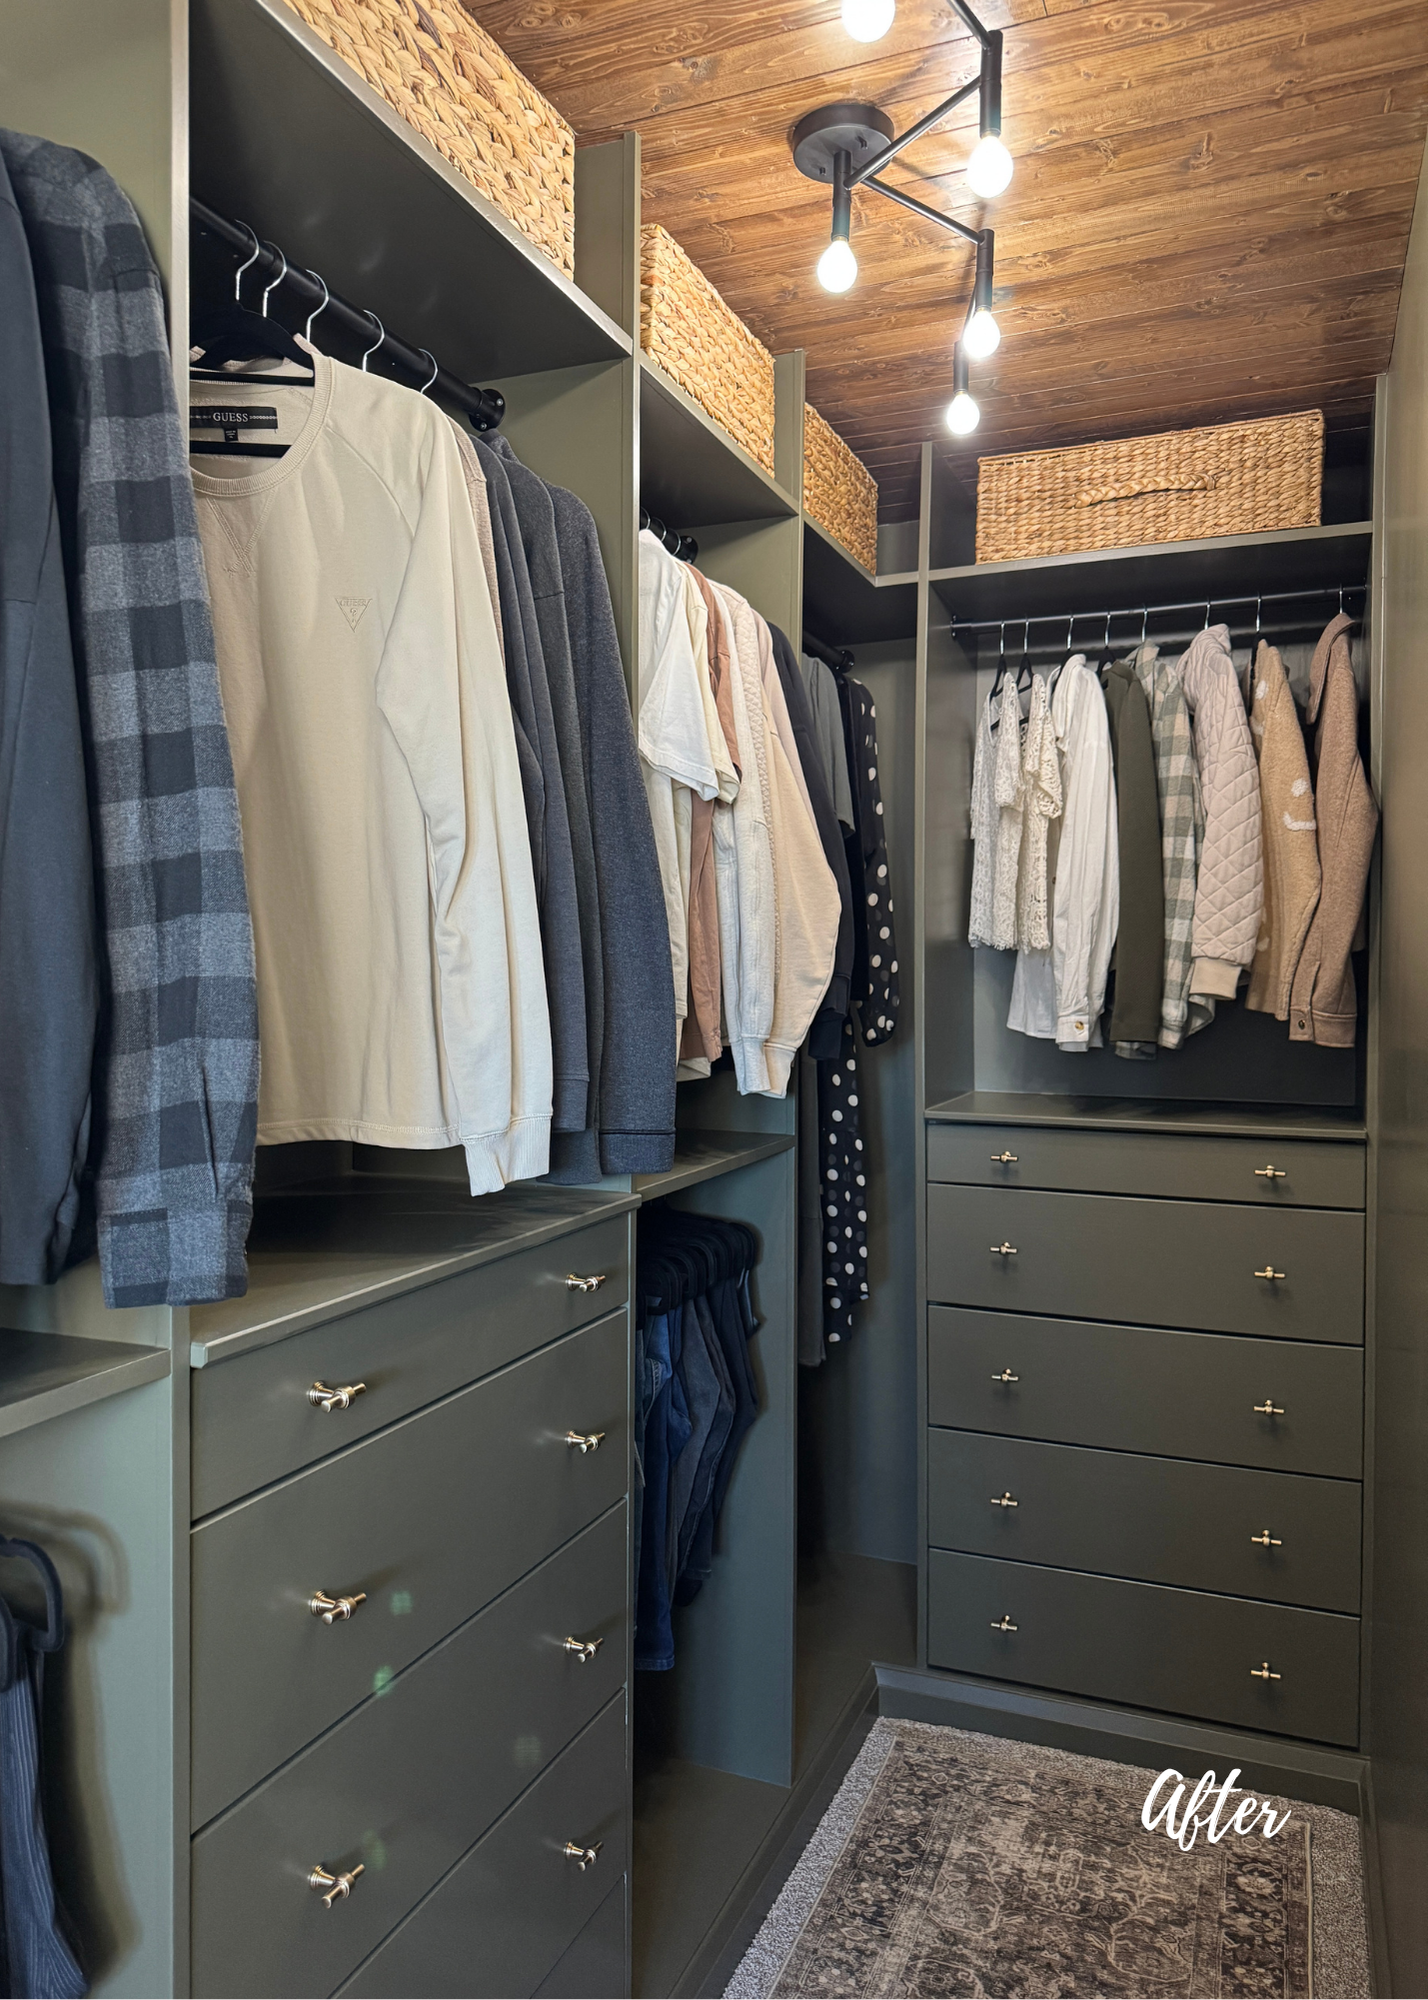
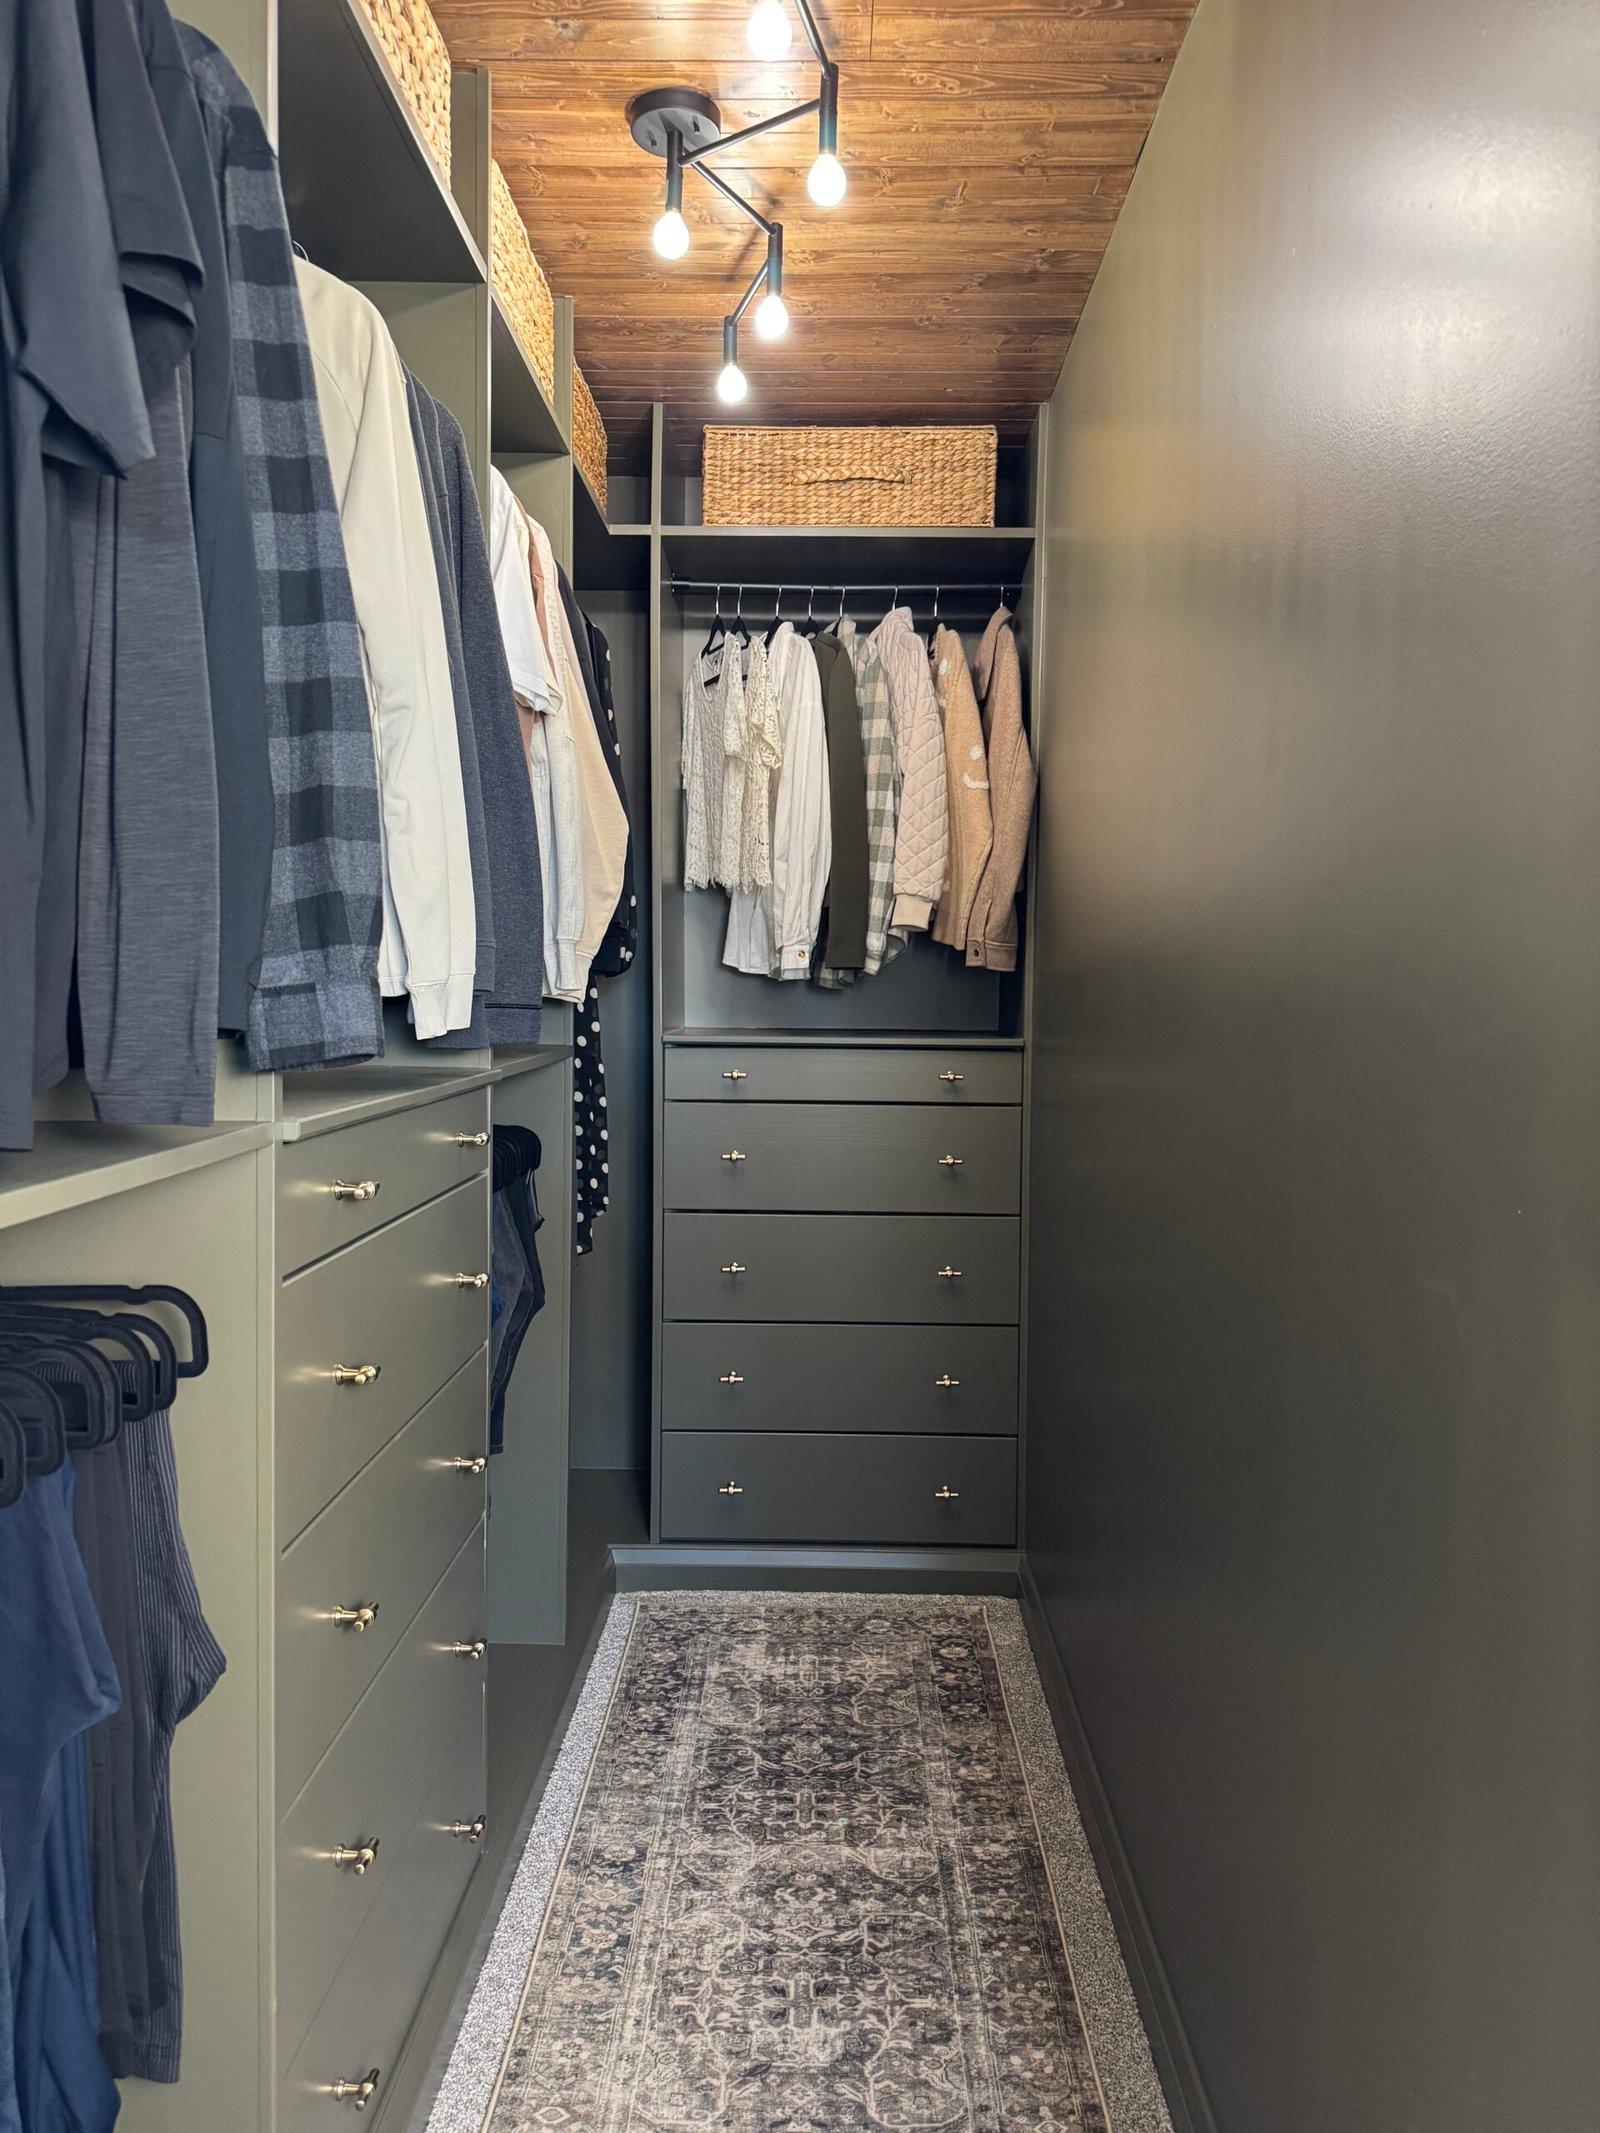
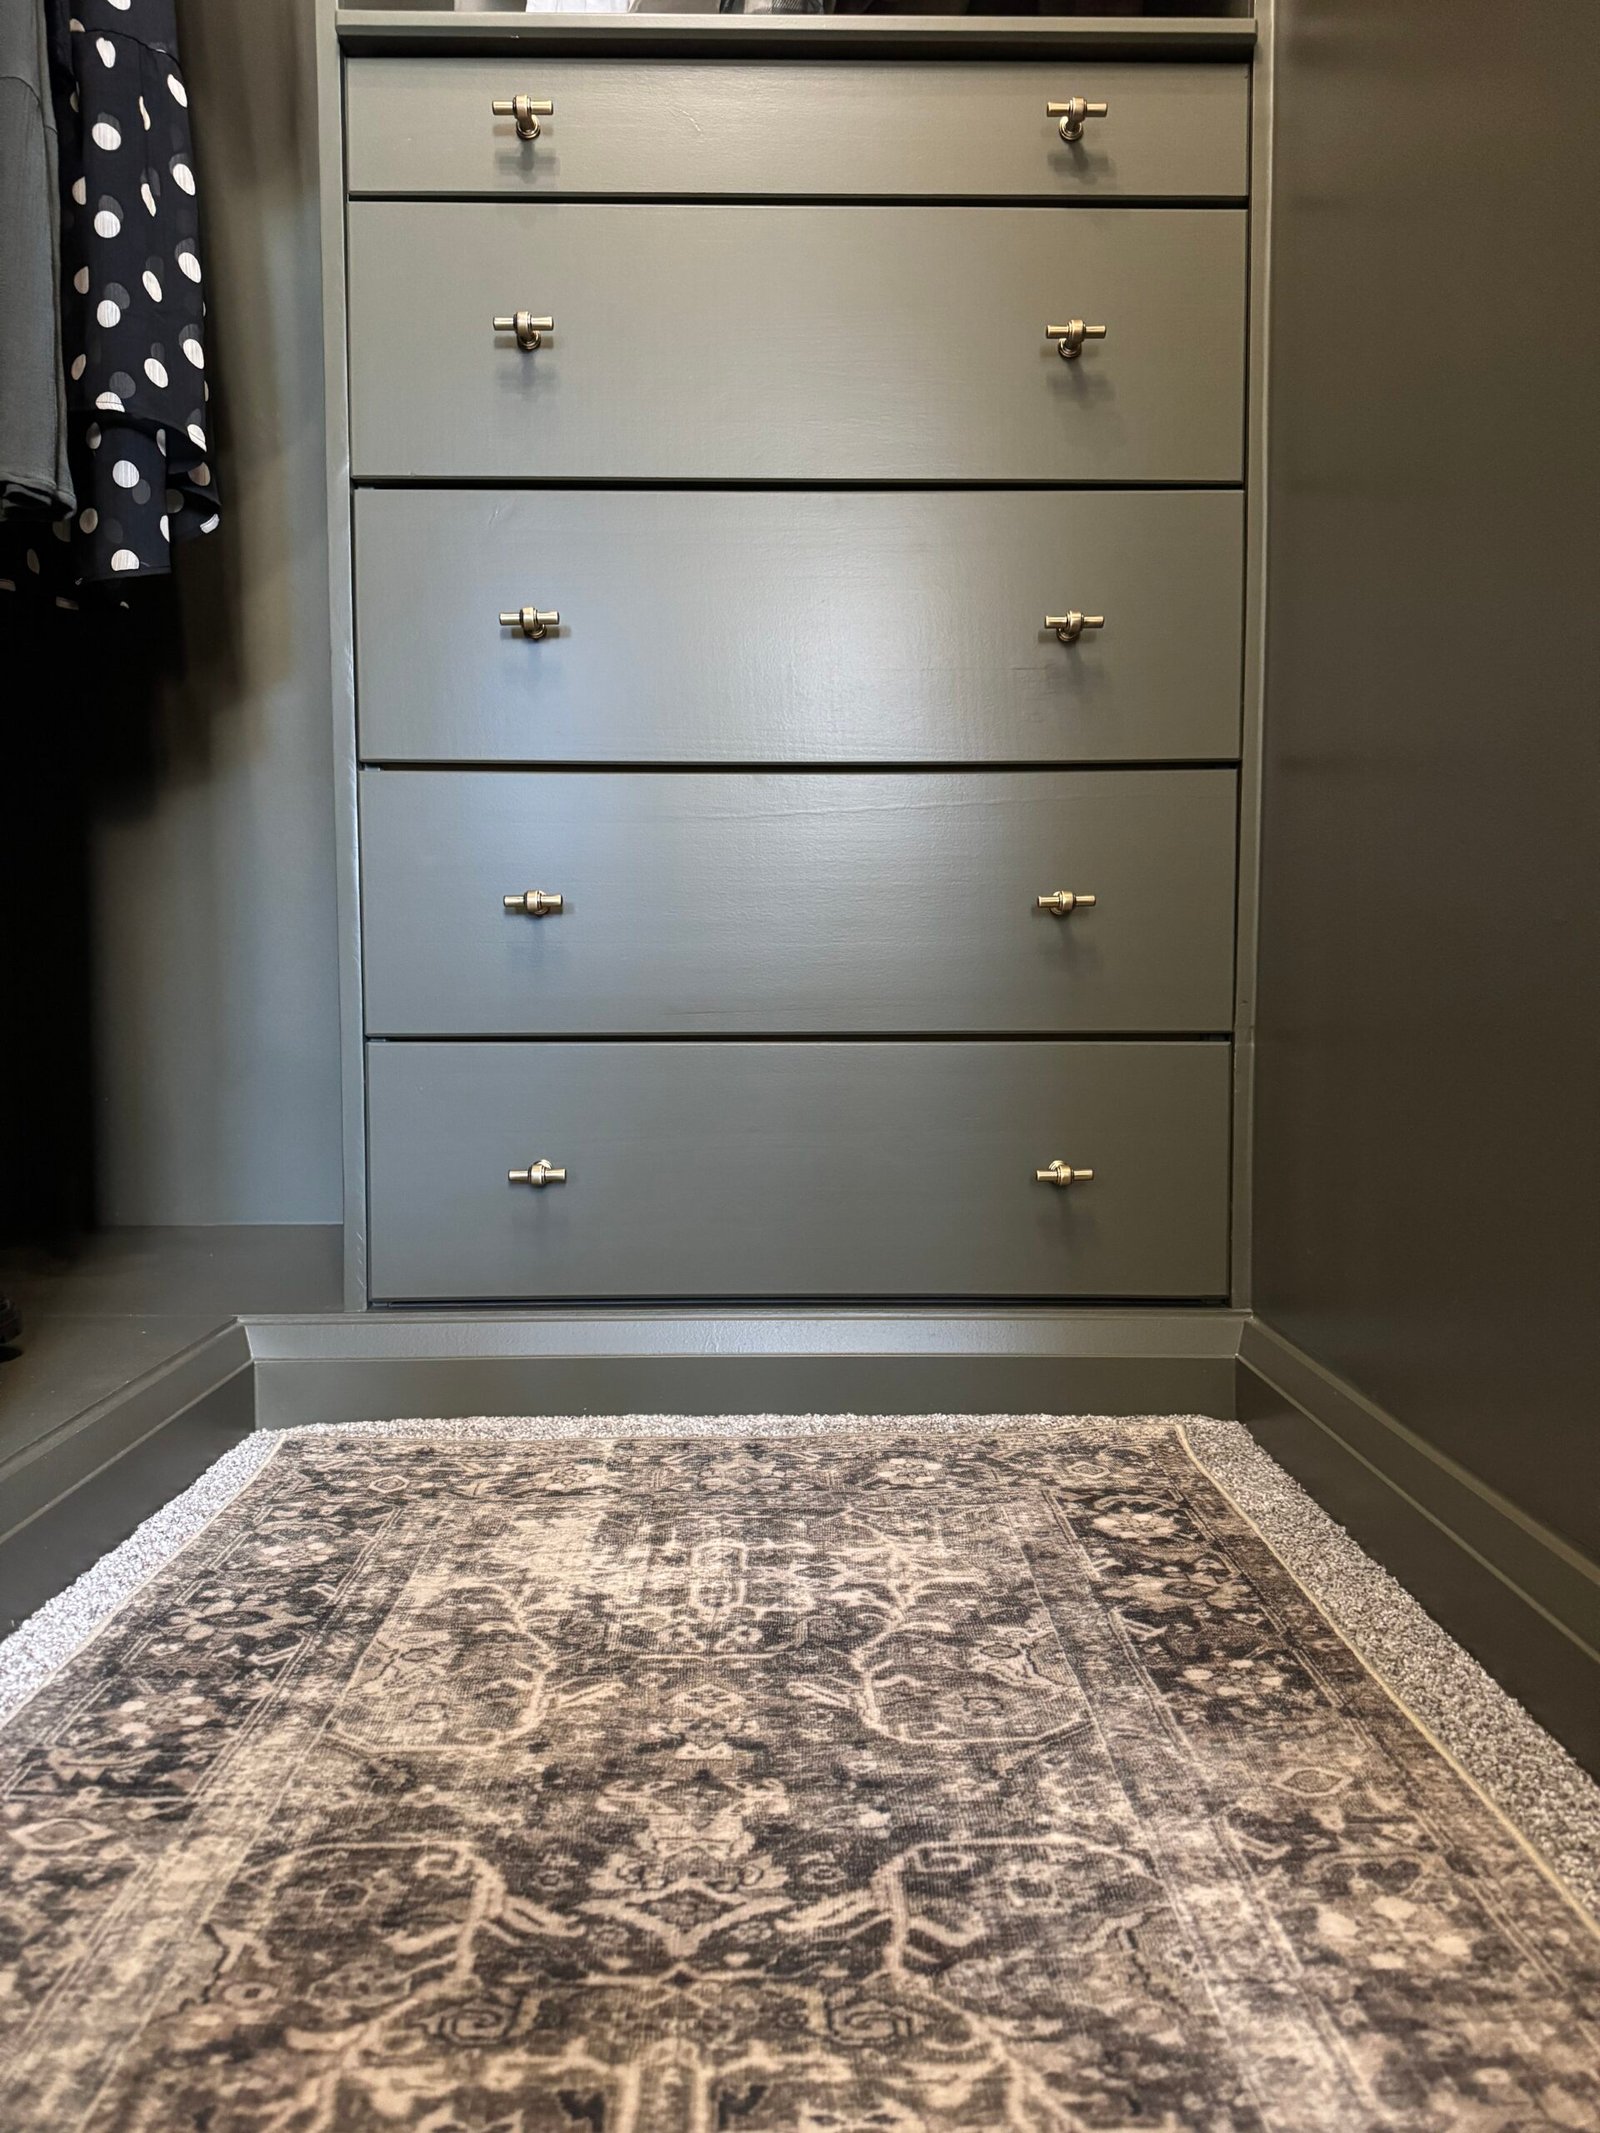
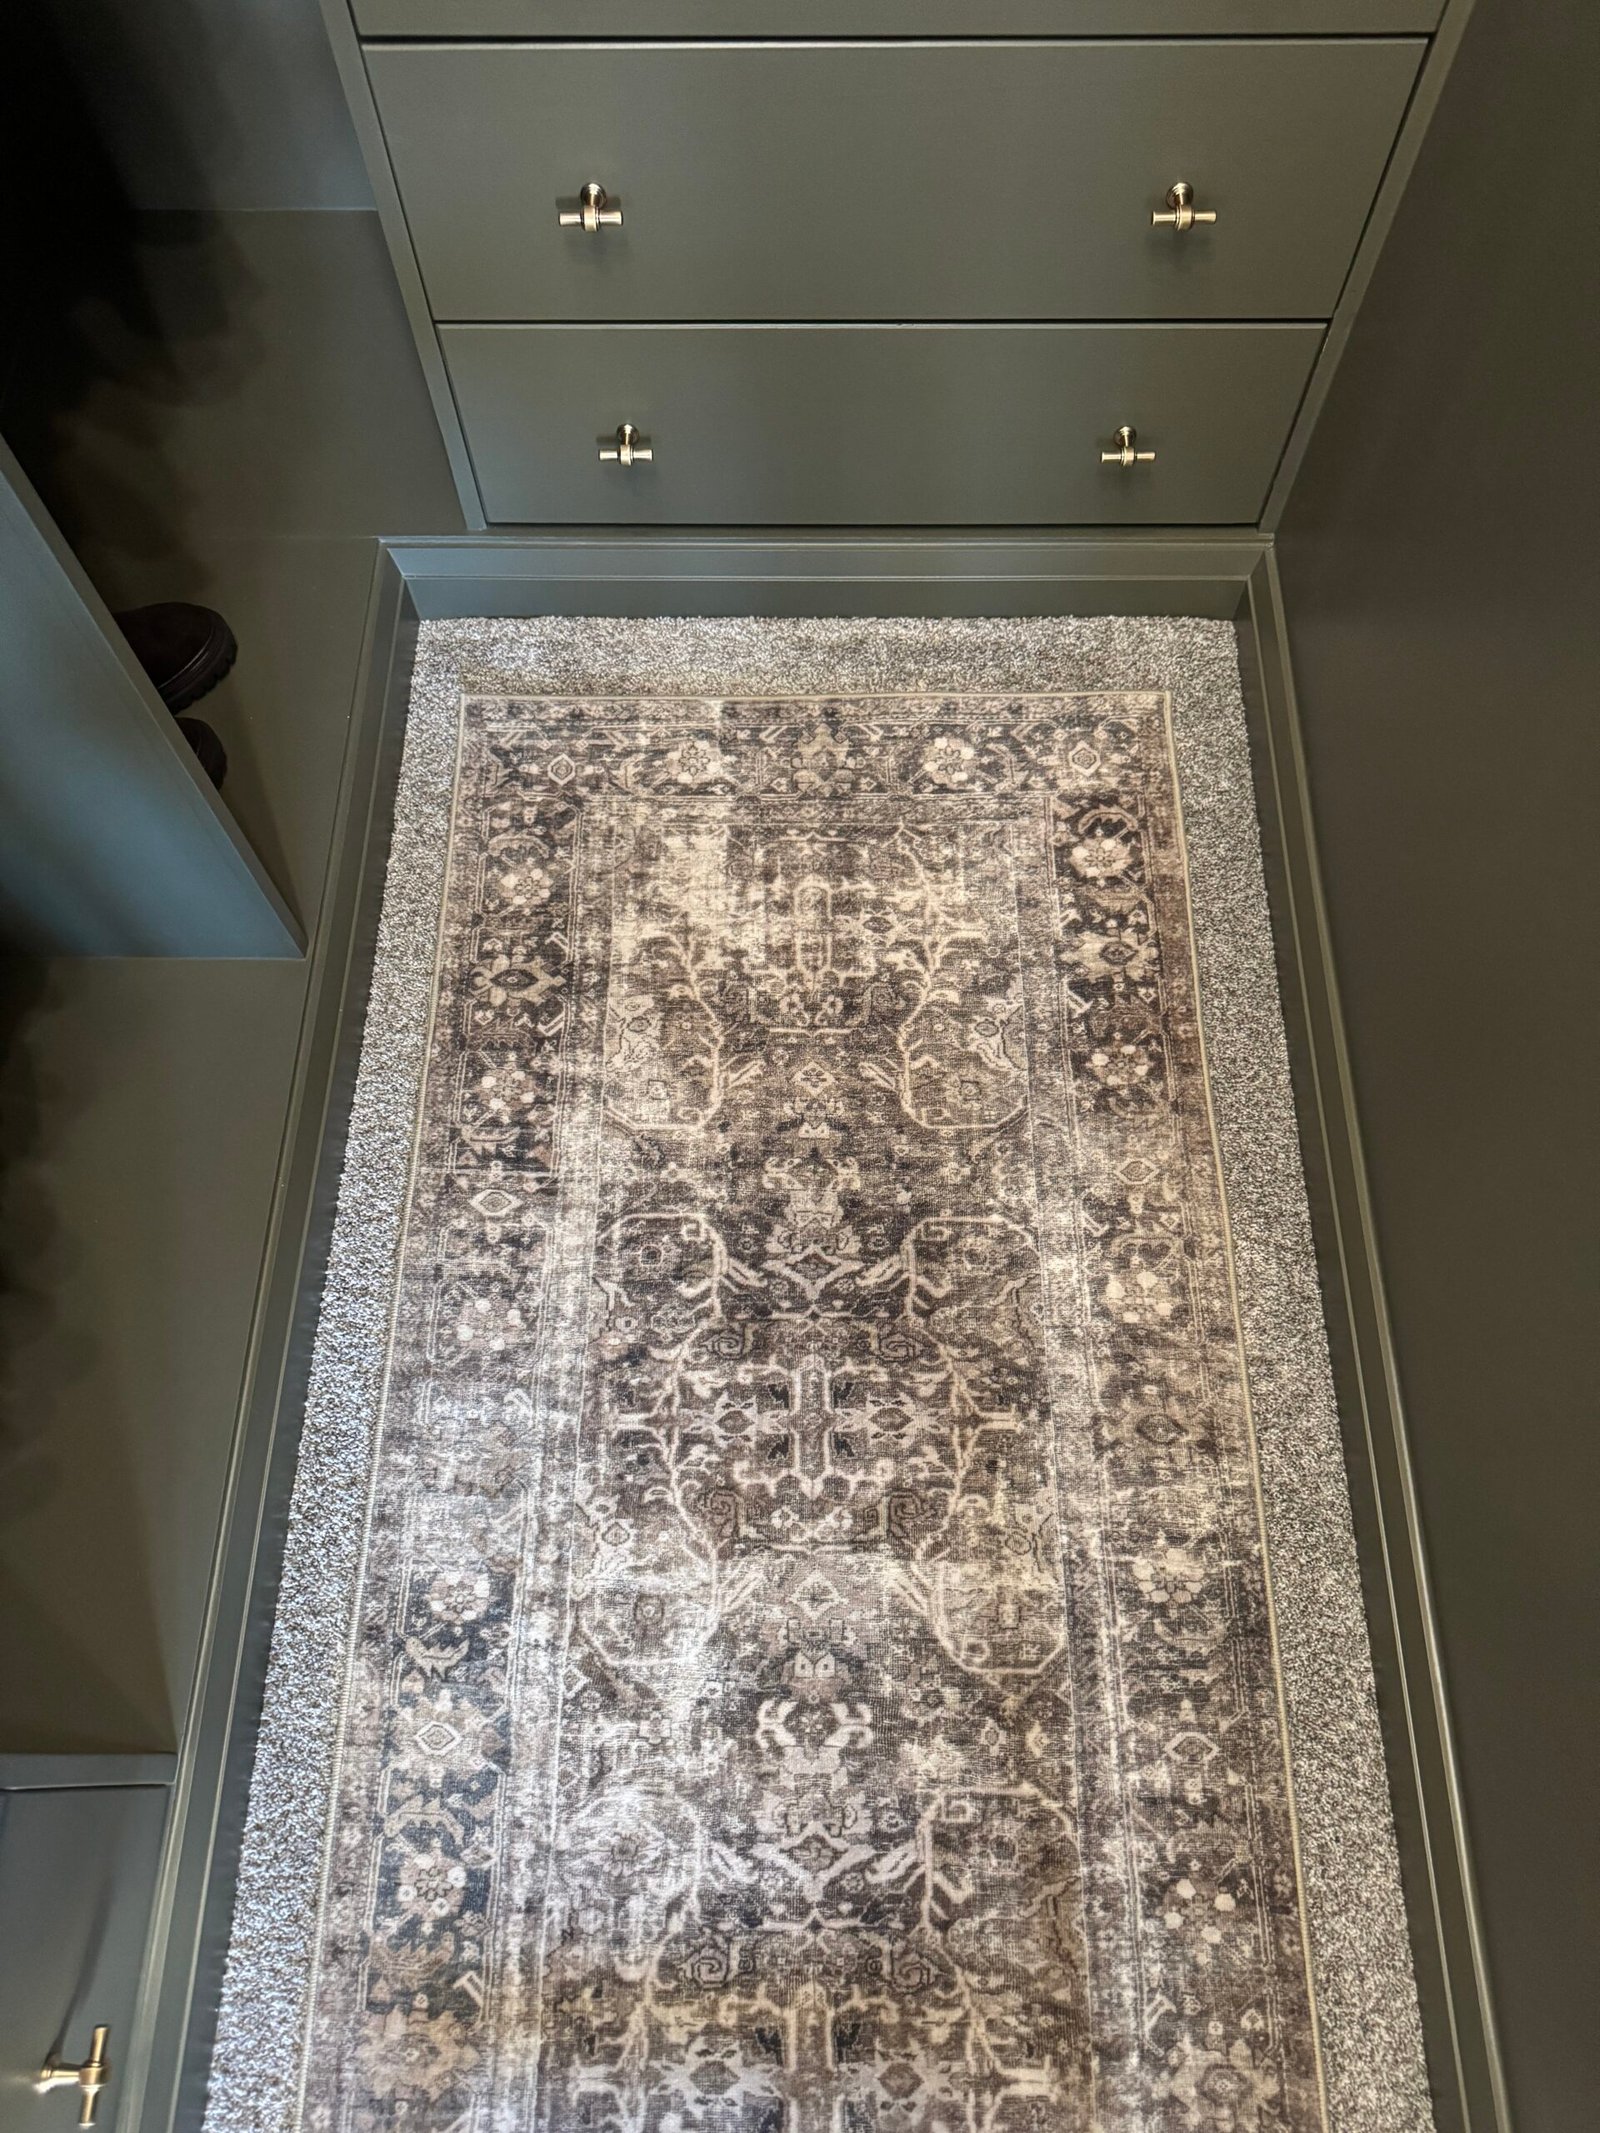
This modern DIY transformation turned a builder basic wire-rack closet into a fully custom closet with built-in with drawers and a layout designed for the way we actually get dressed. Every inch was planned with purpose, balancing form and function.
FEATURES
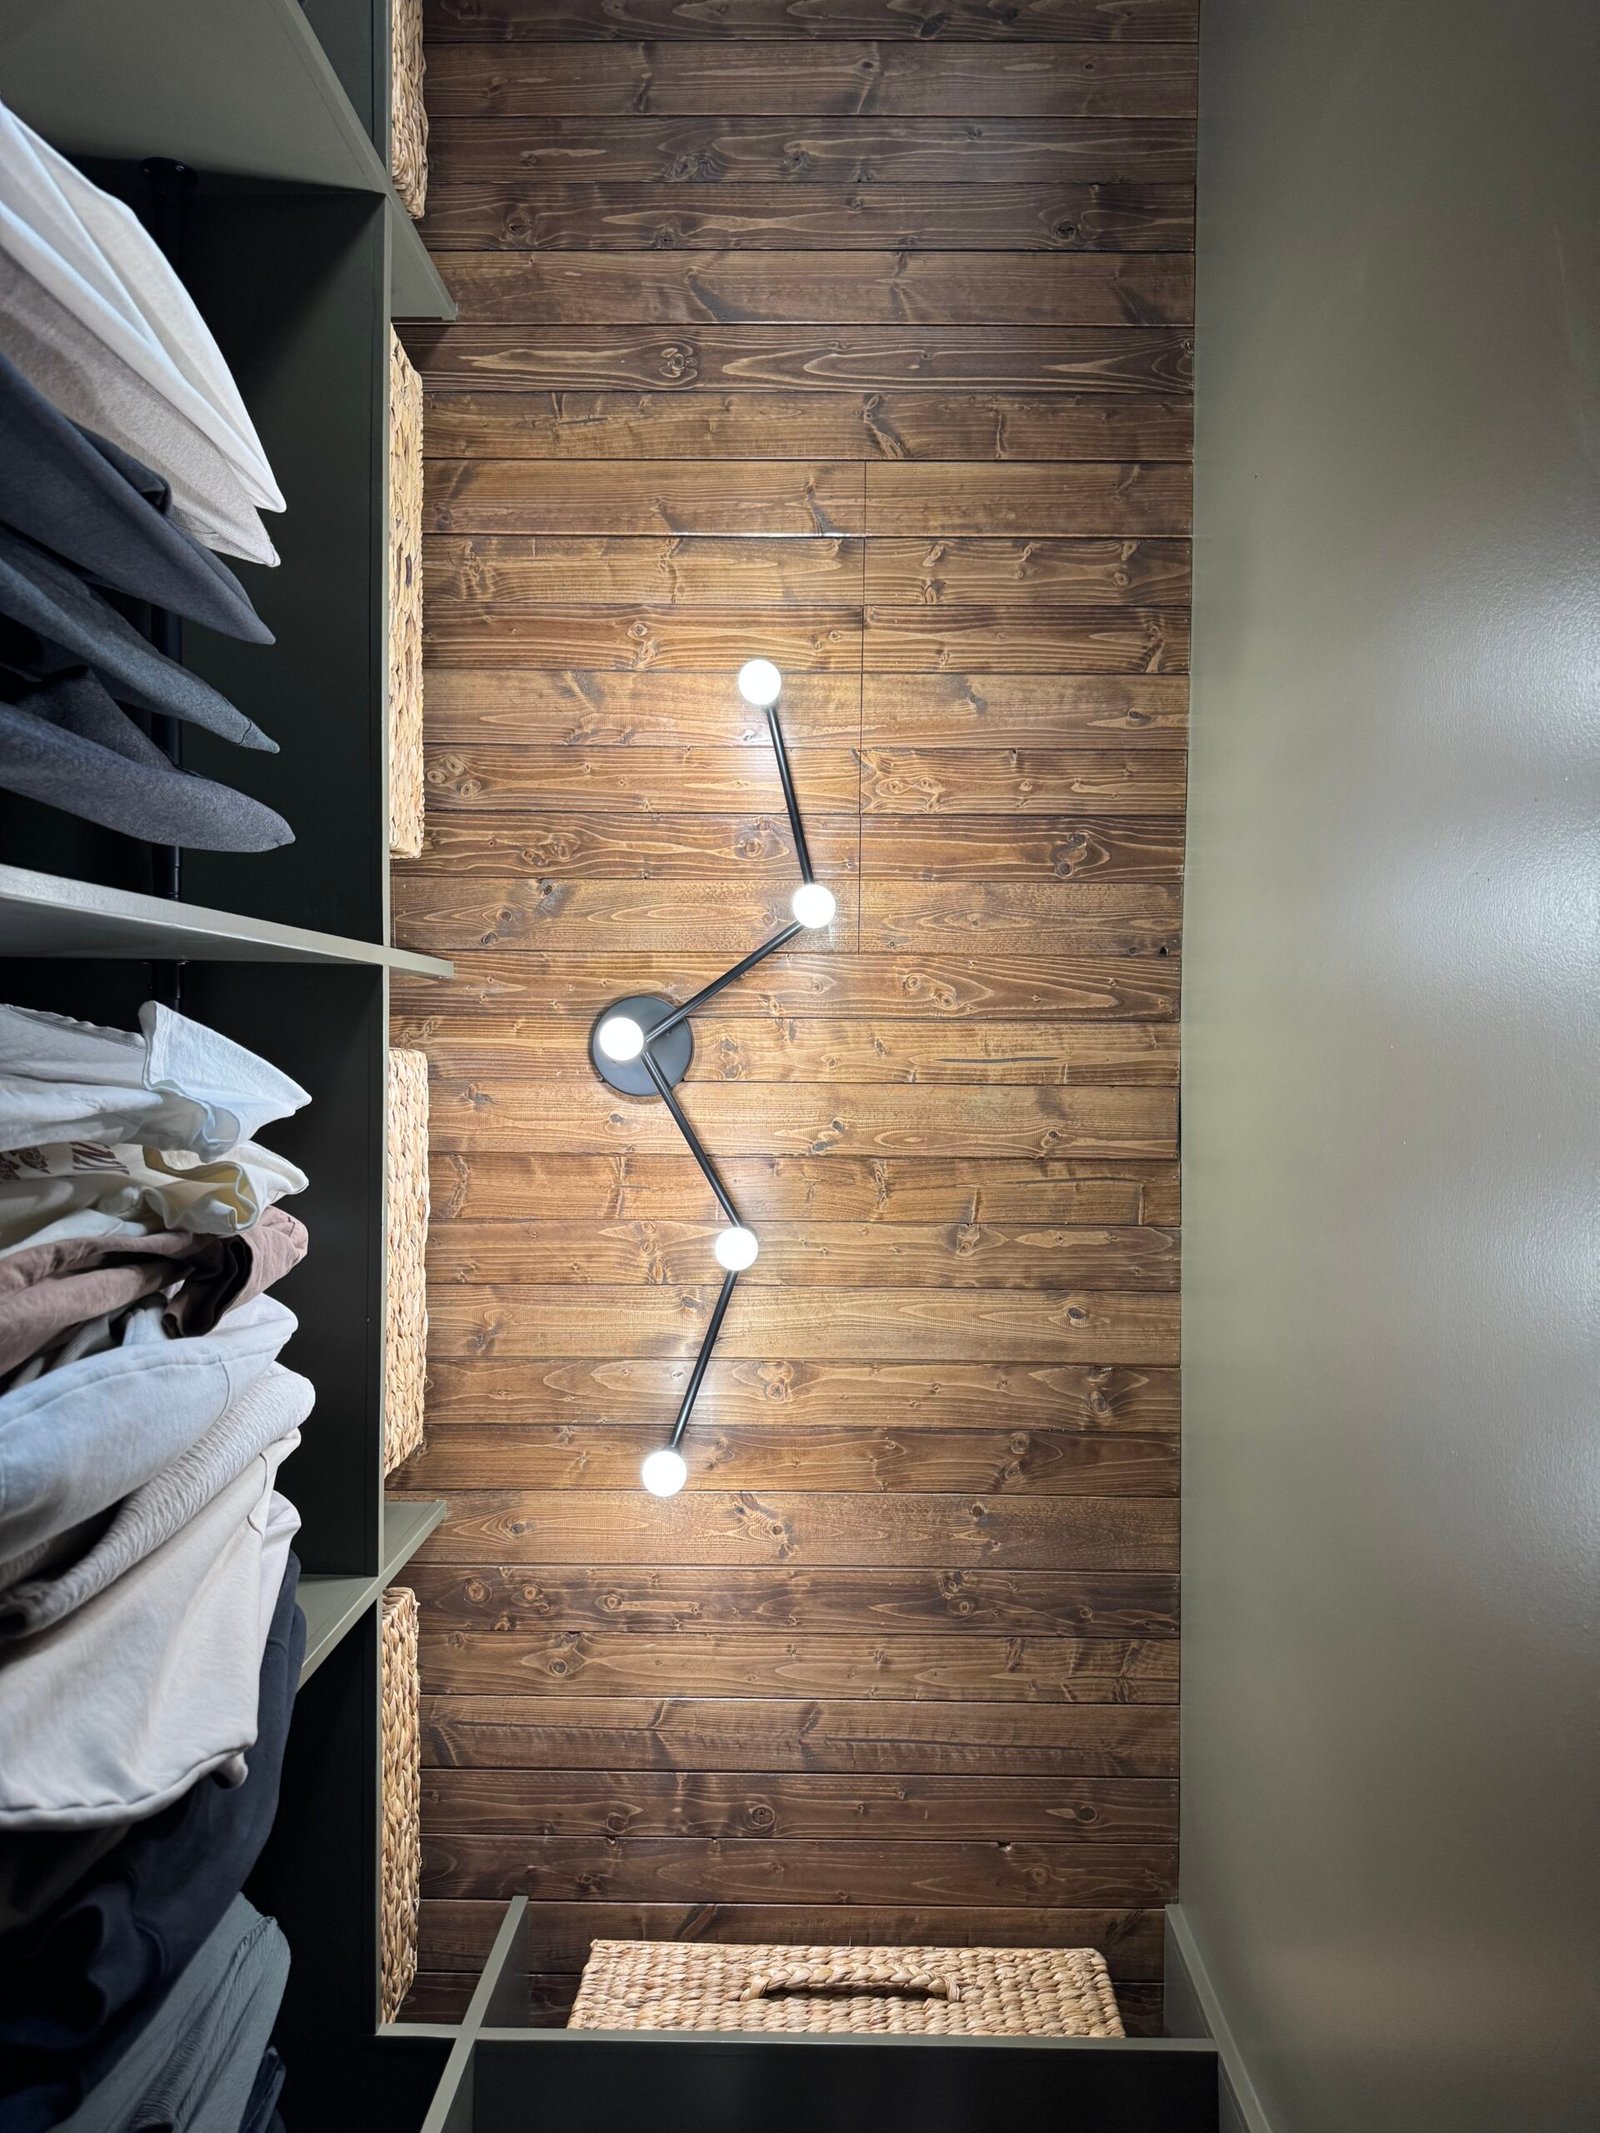
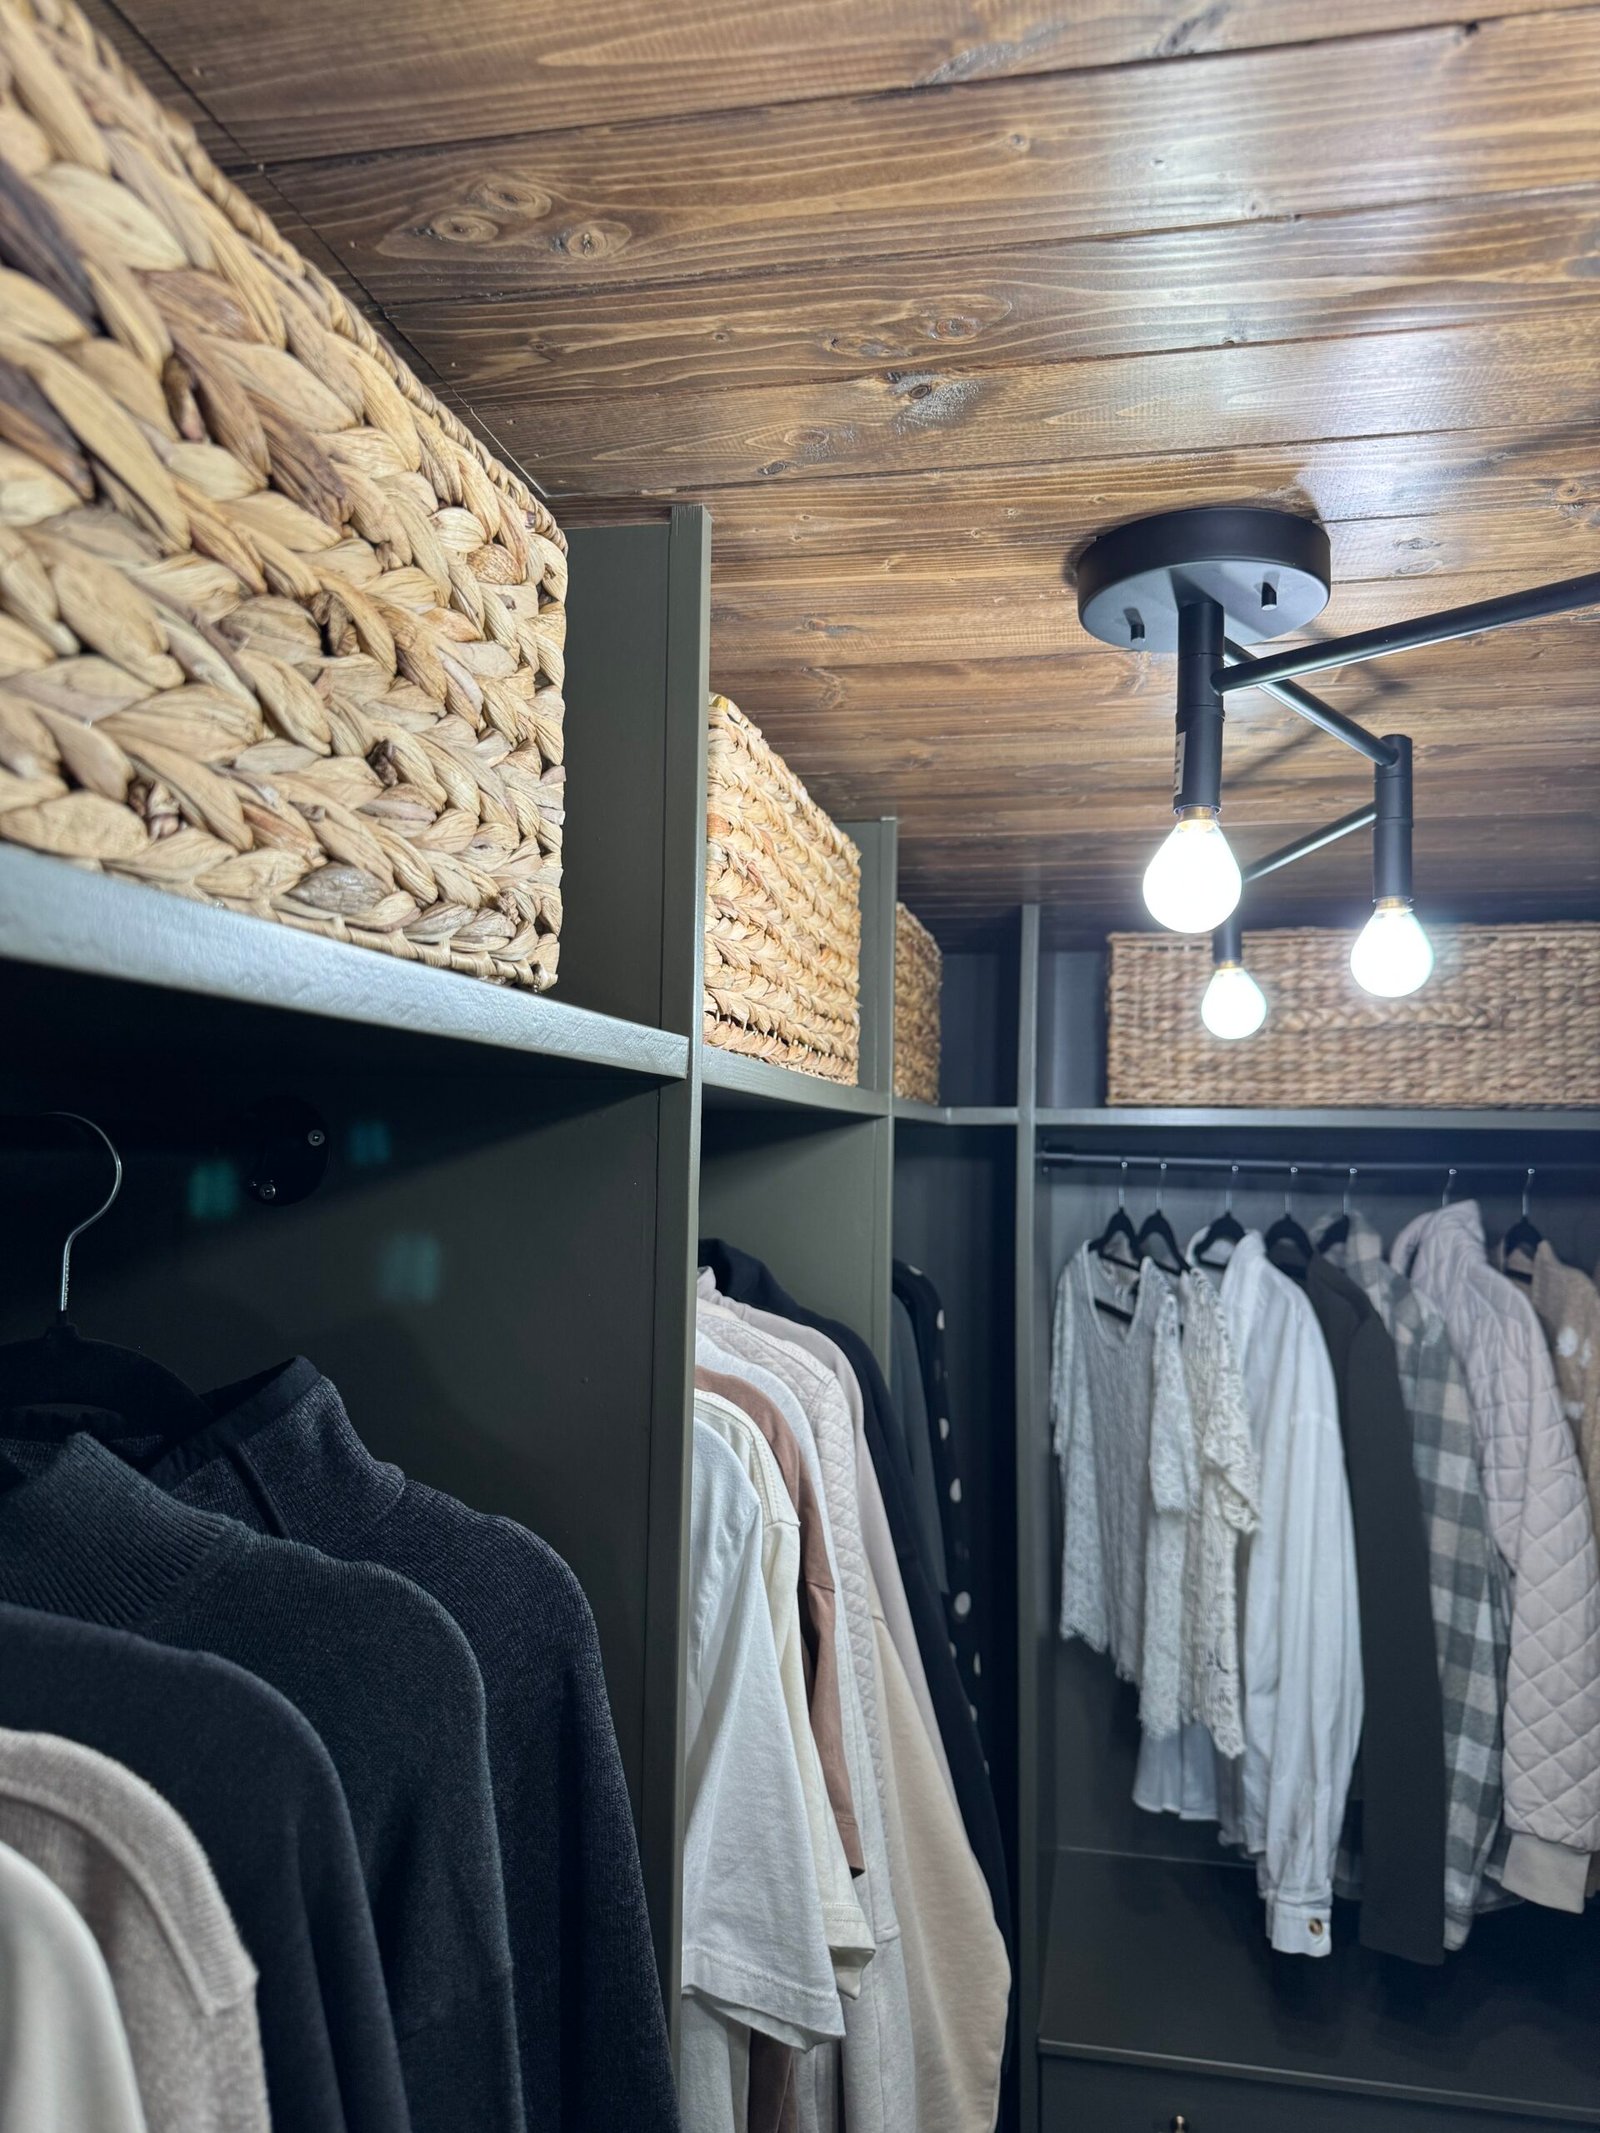
- Plank Ceiling with Hidden Attic Access
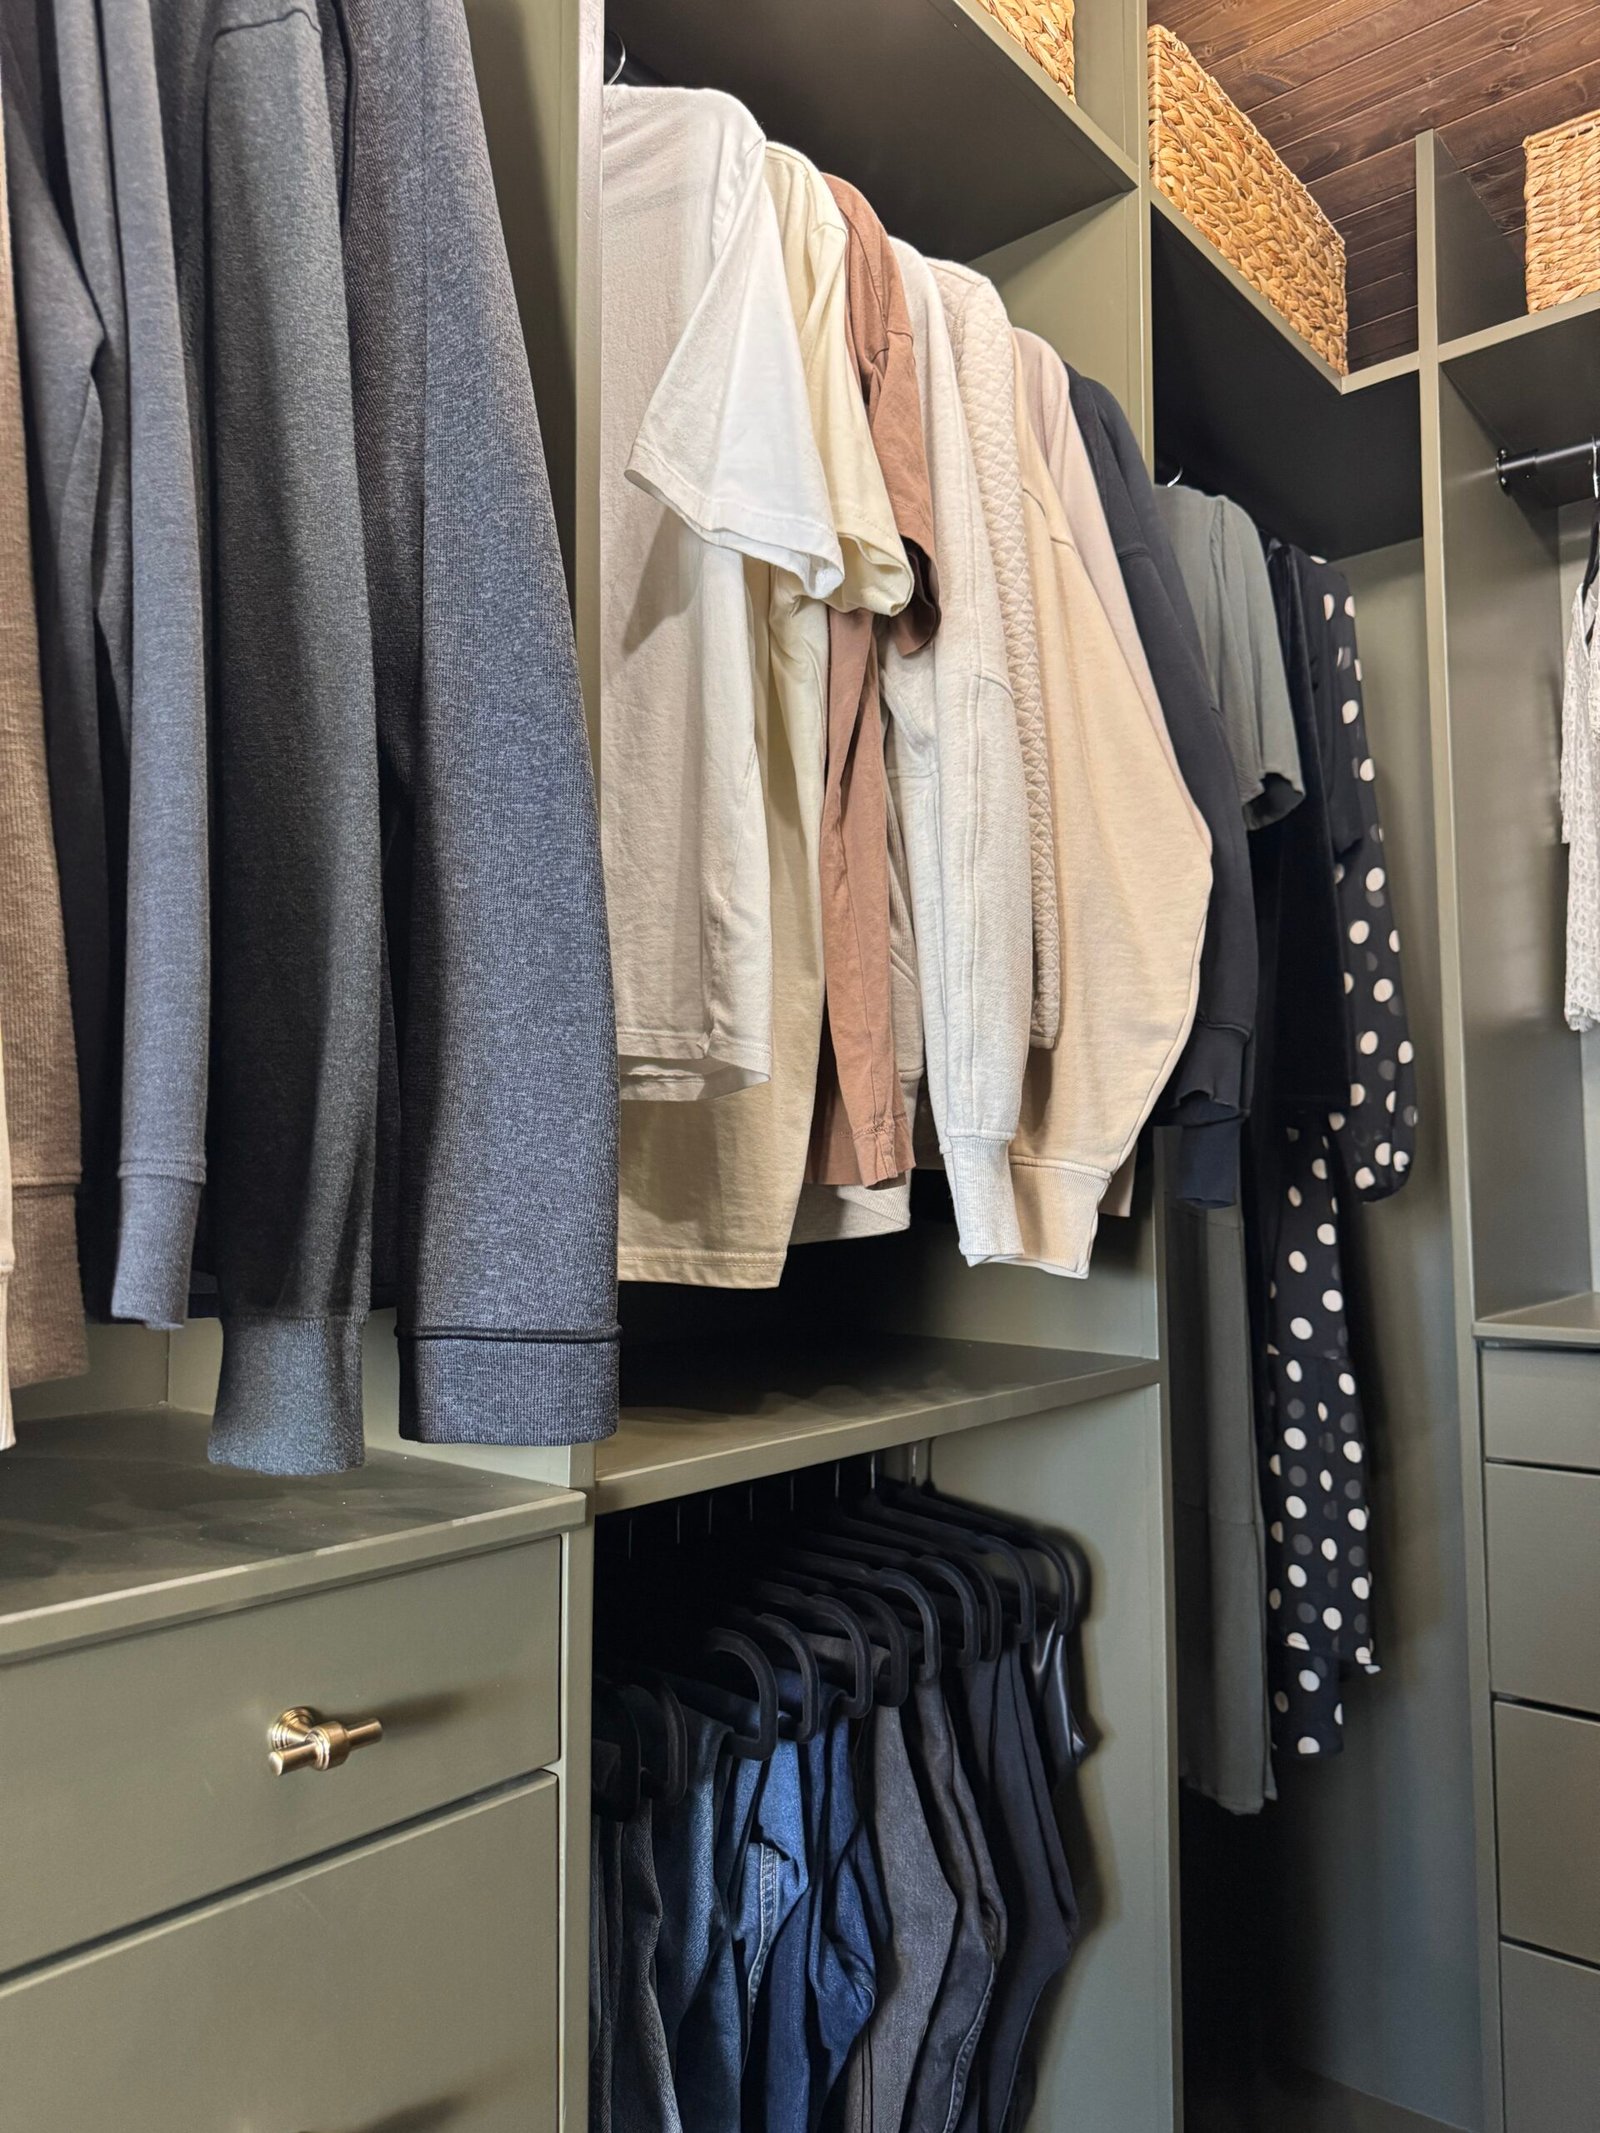
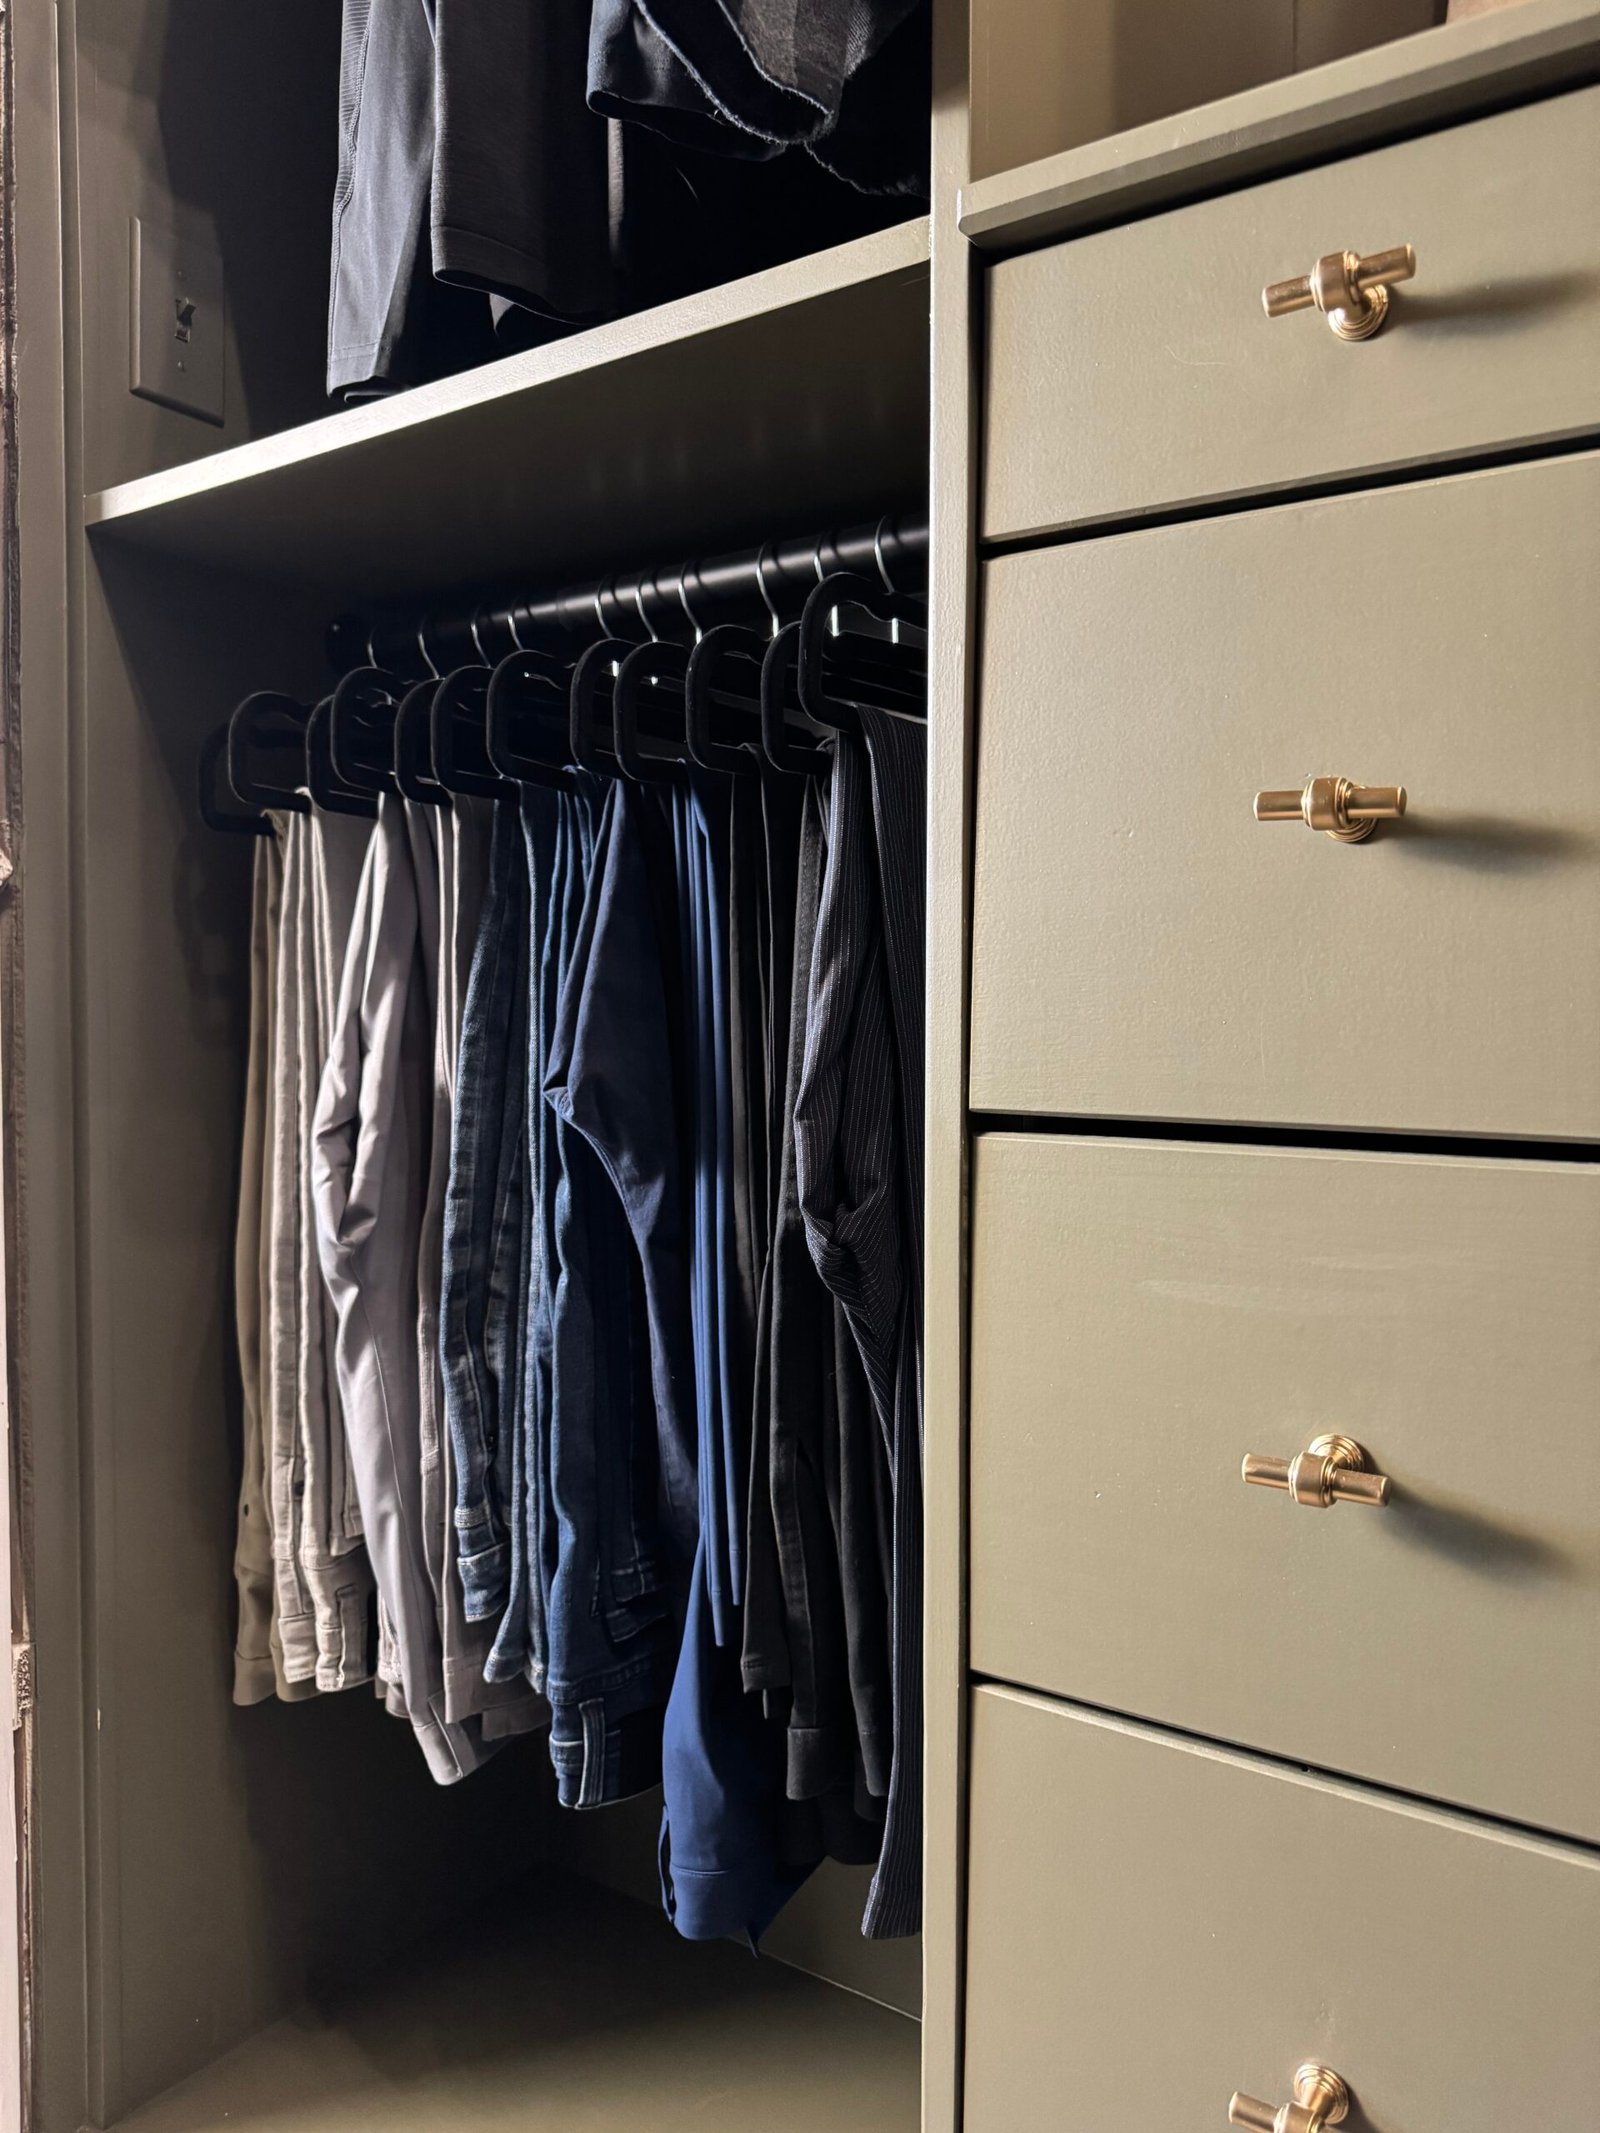
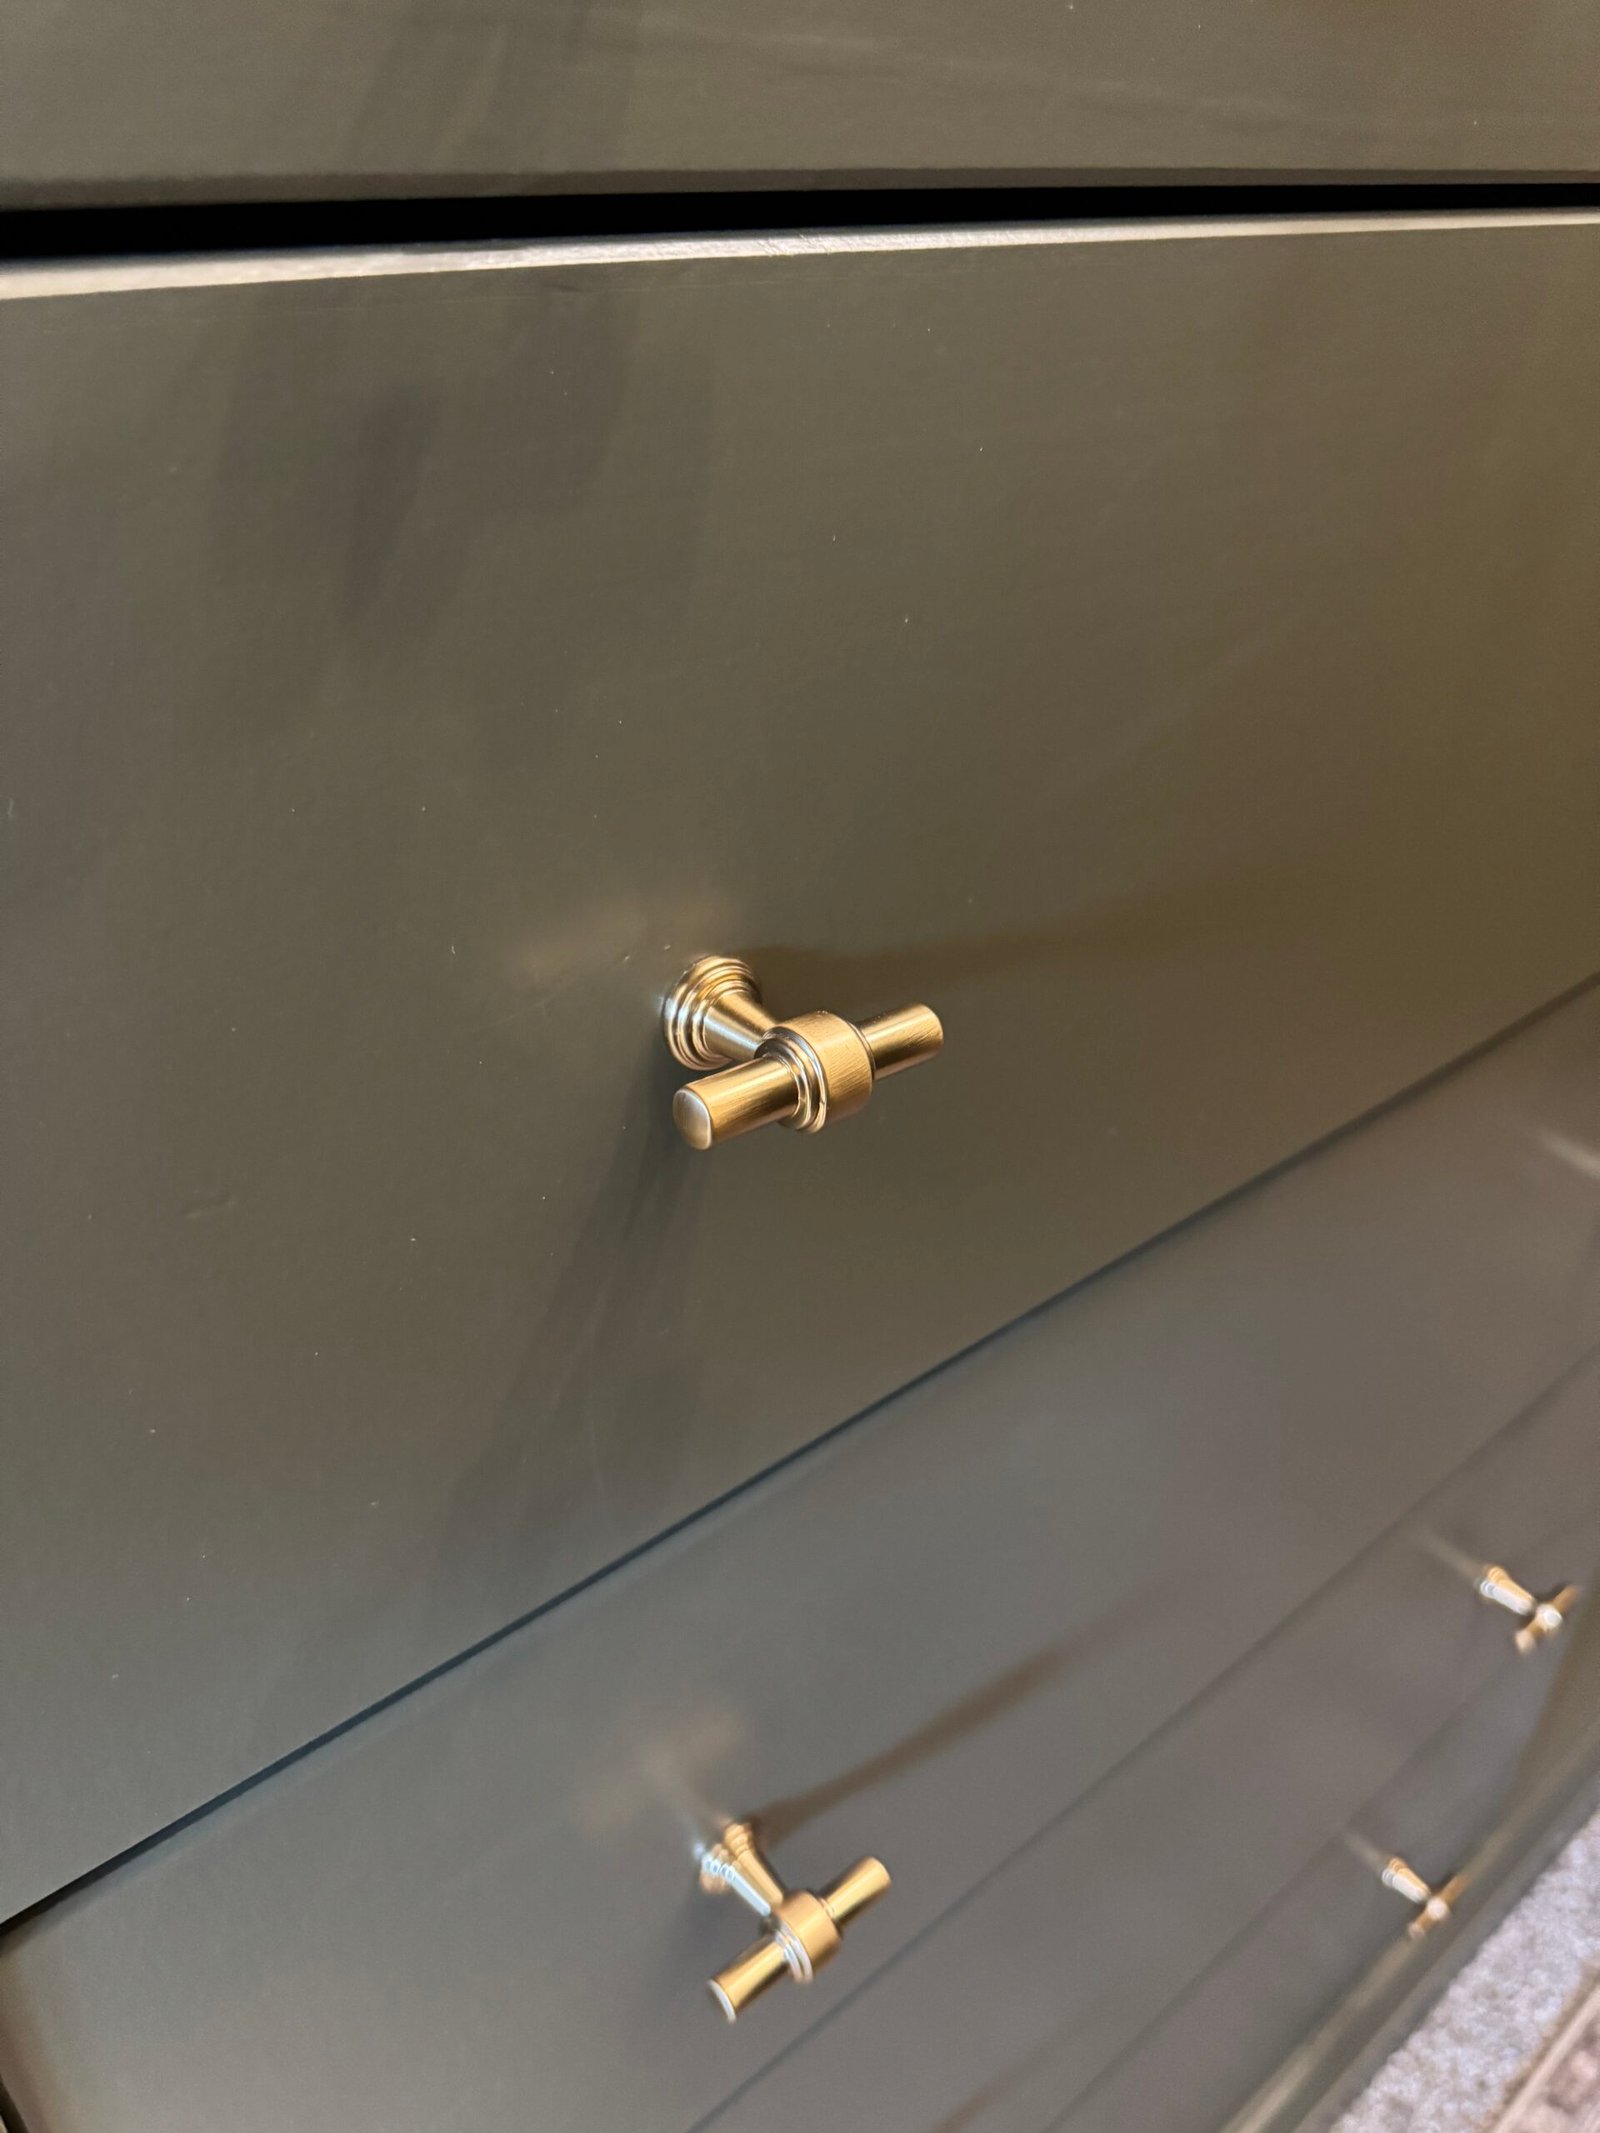
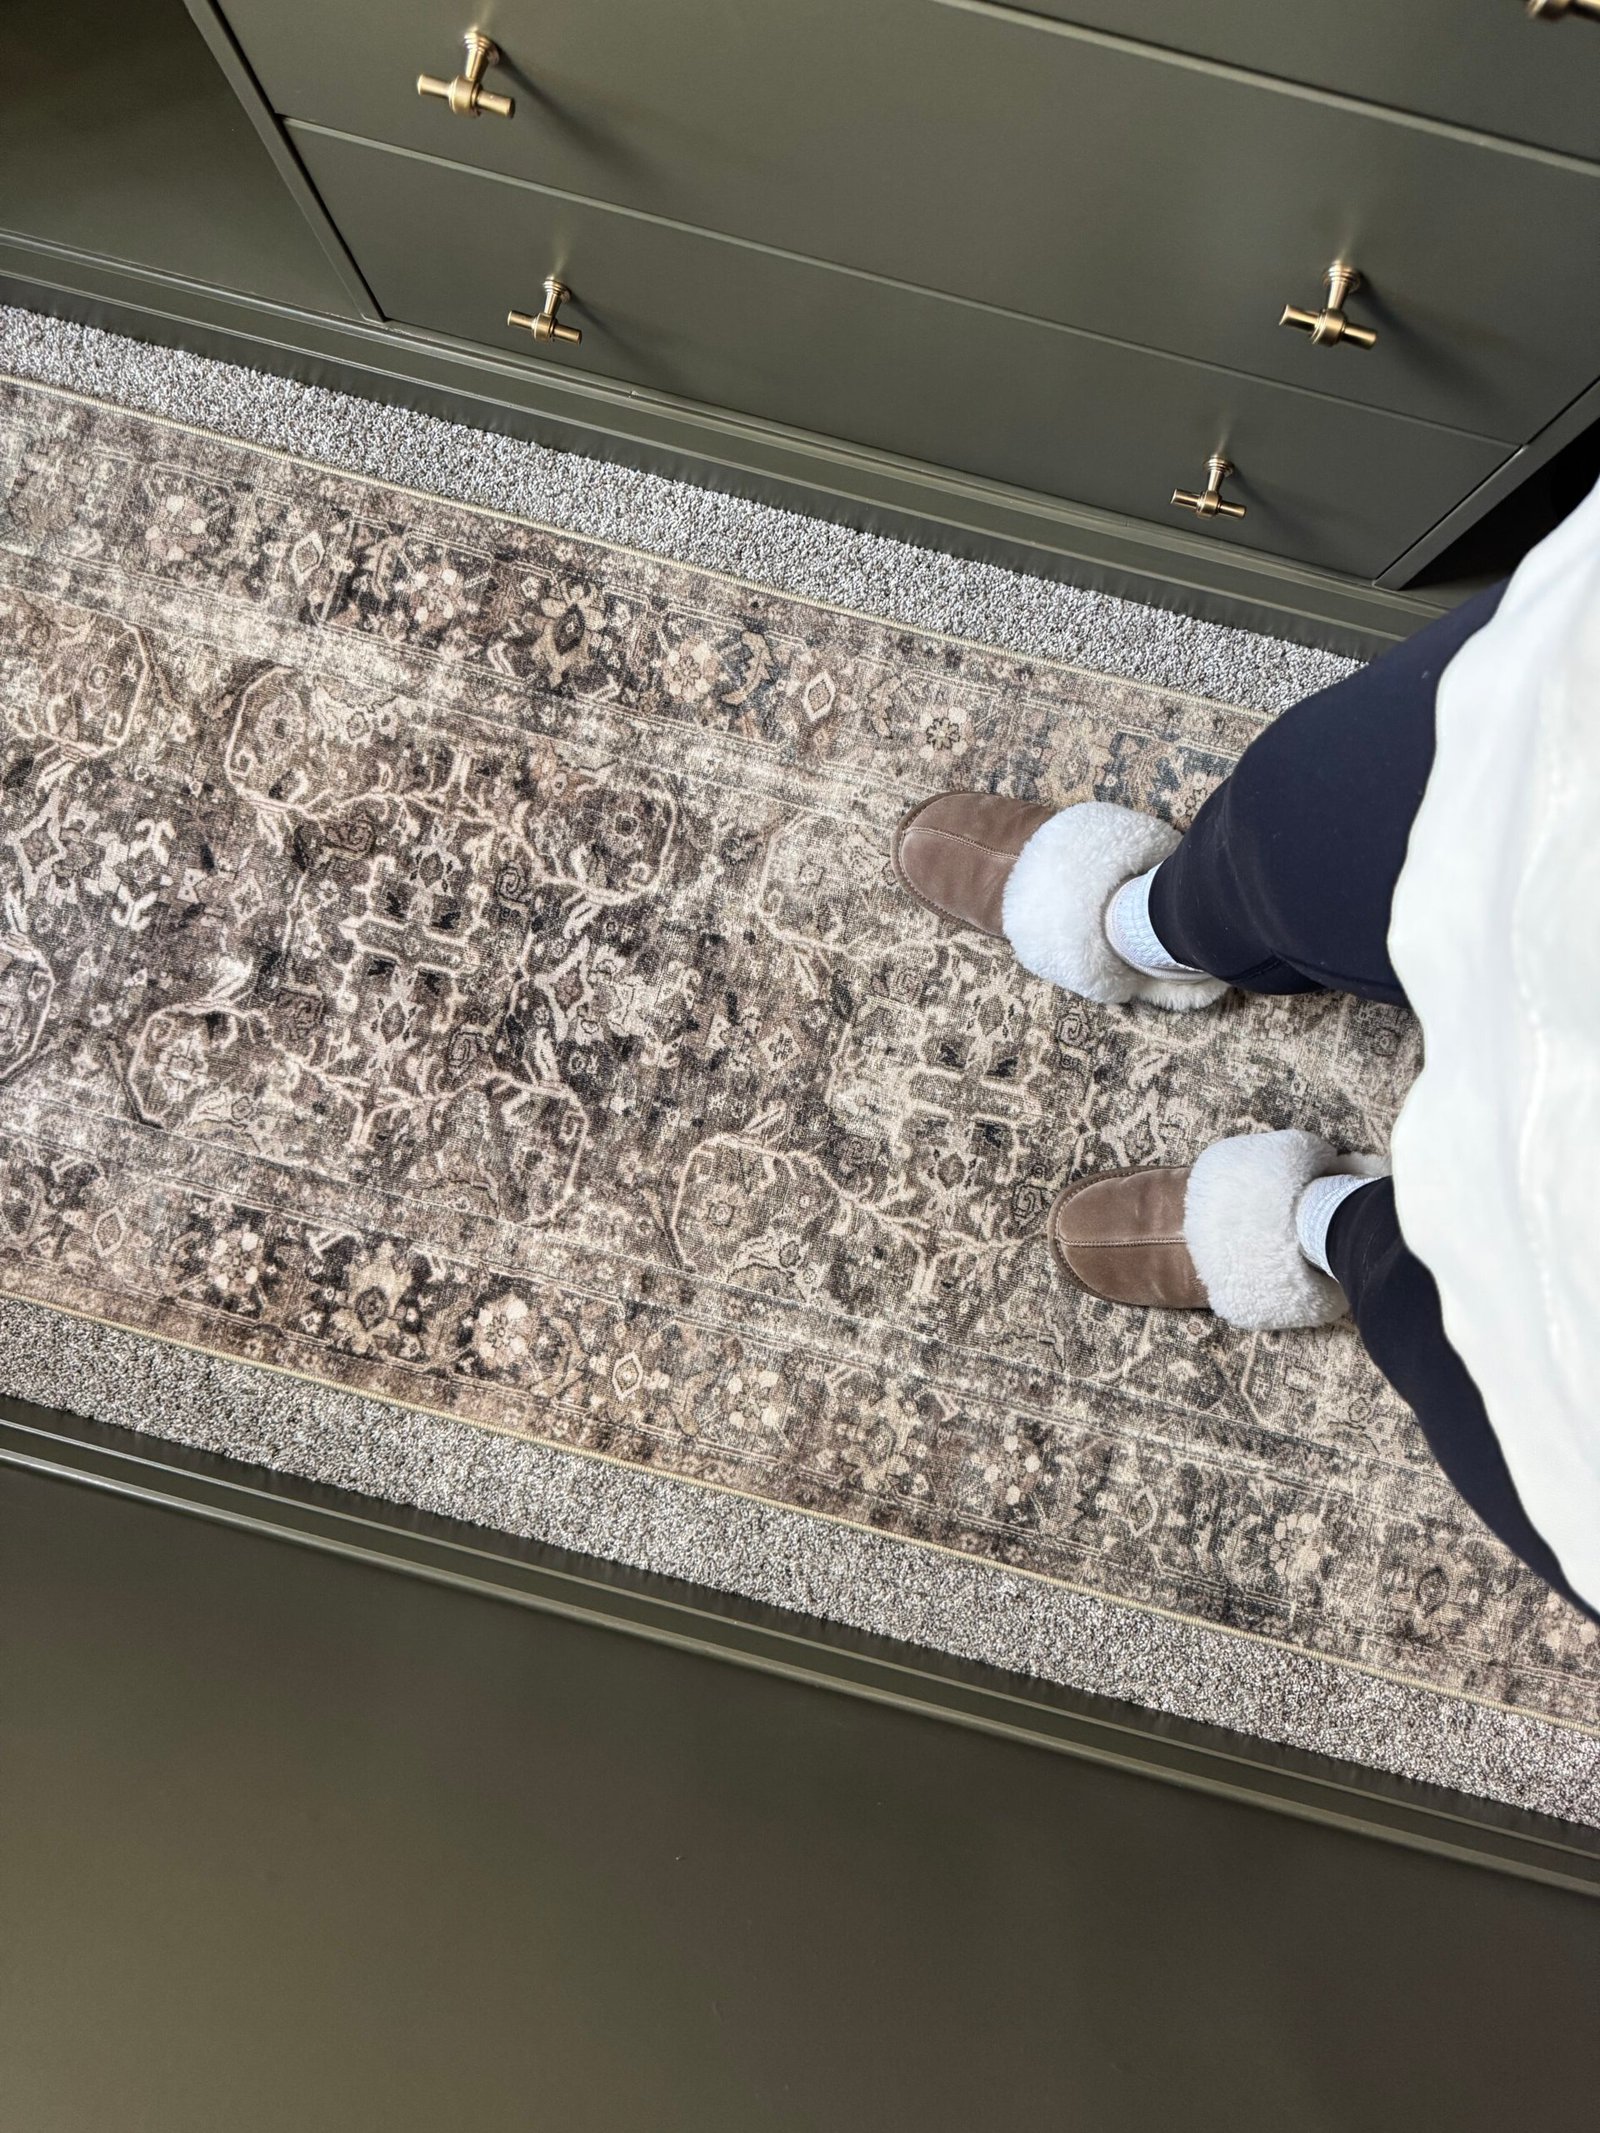
- IKEA Dressers Turned Built-In
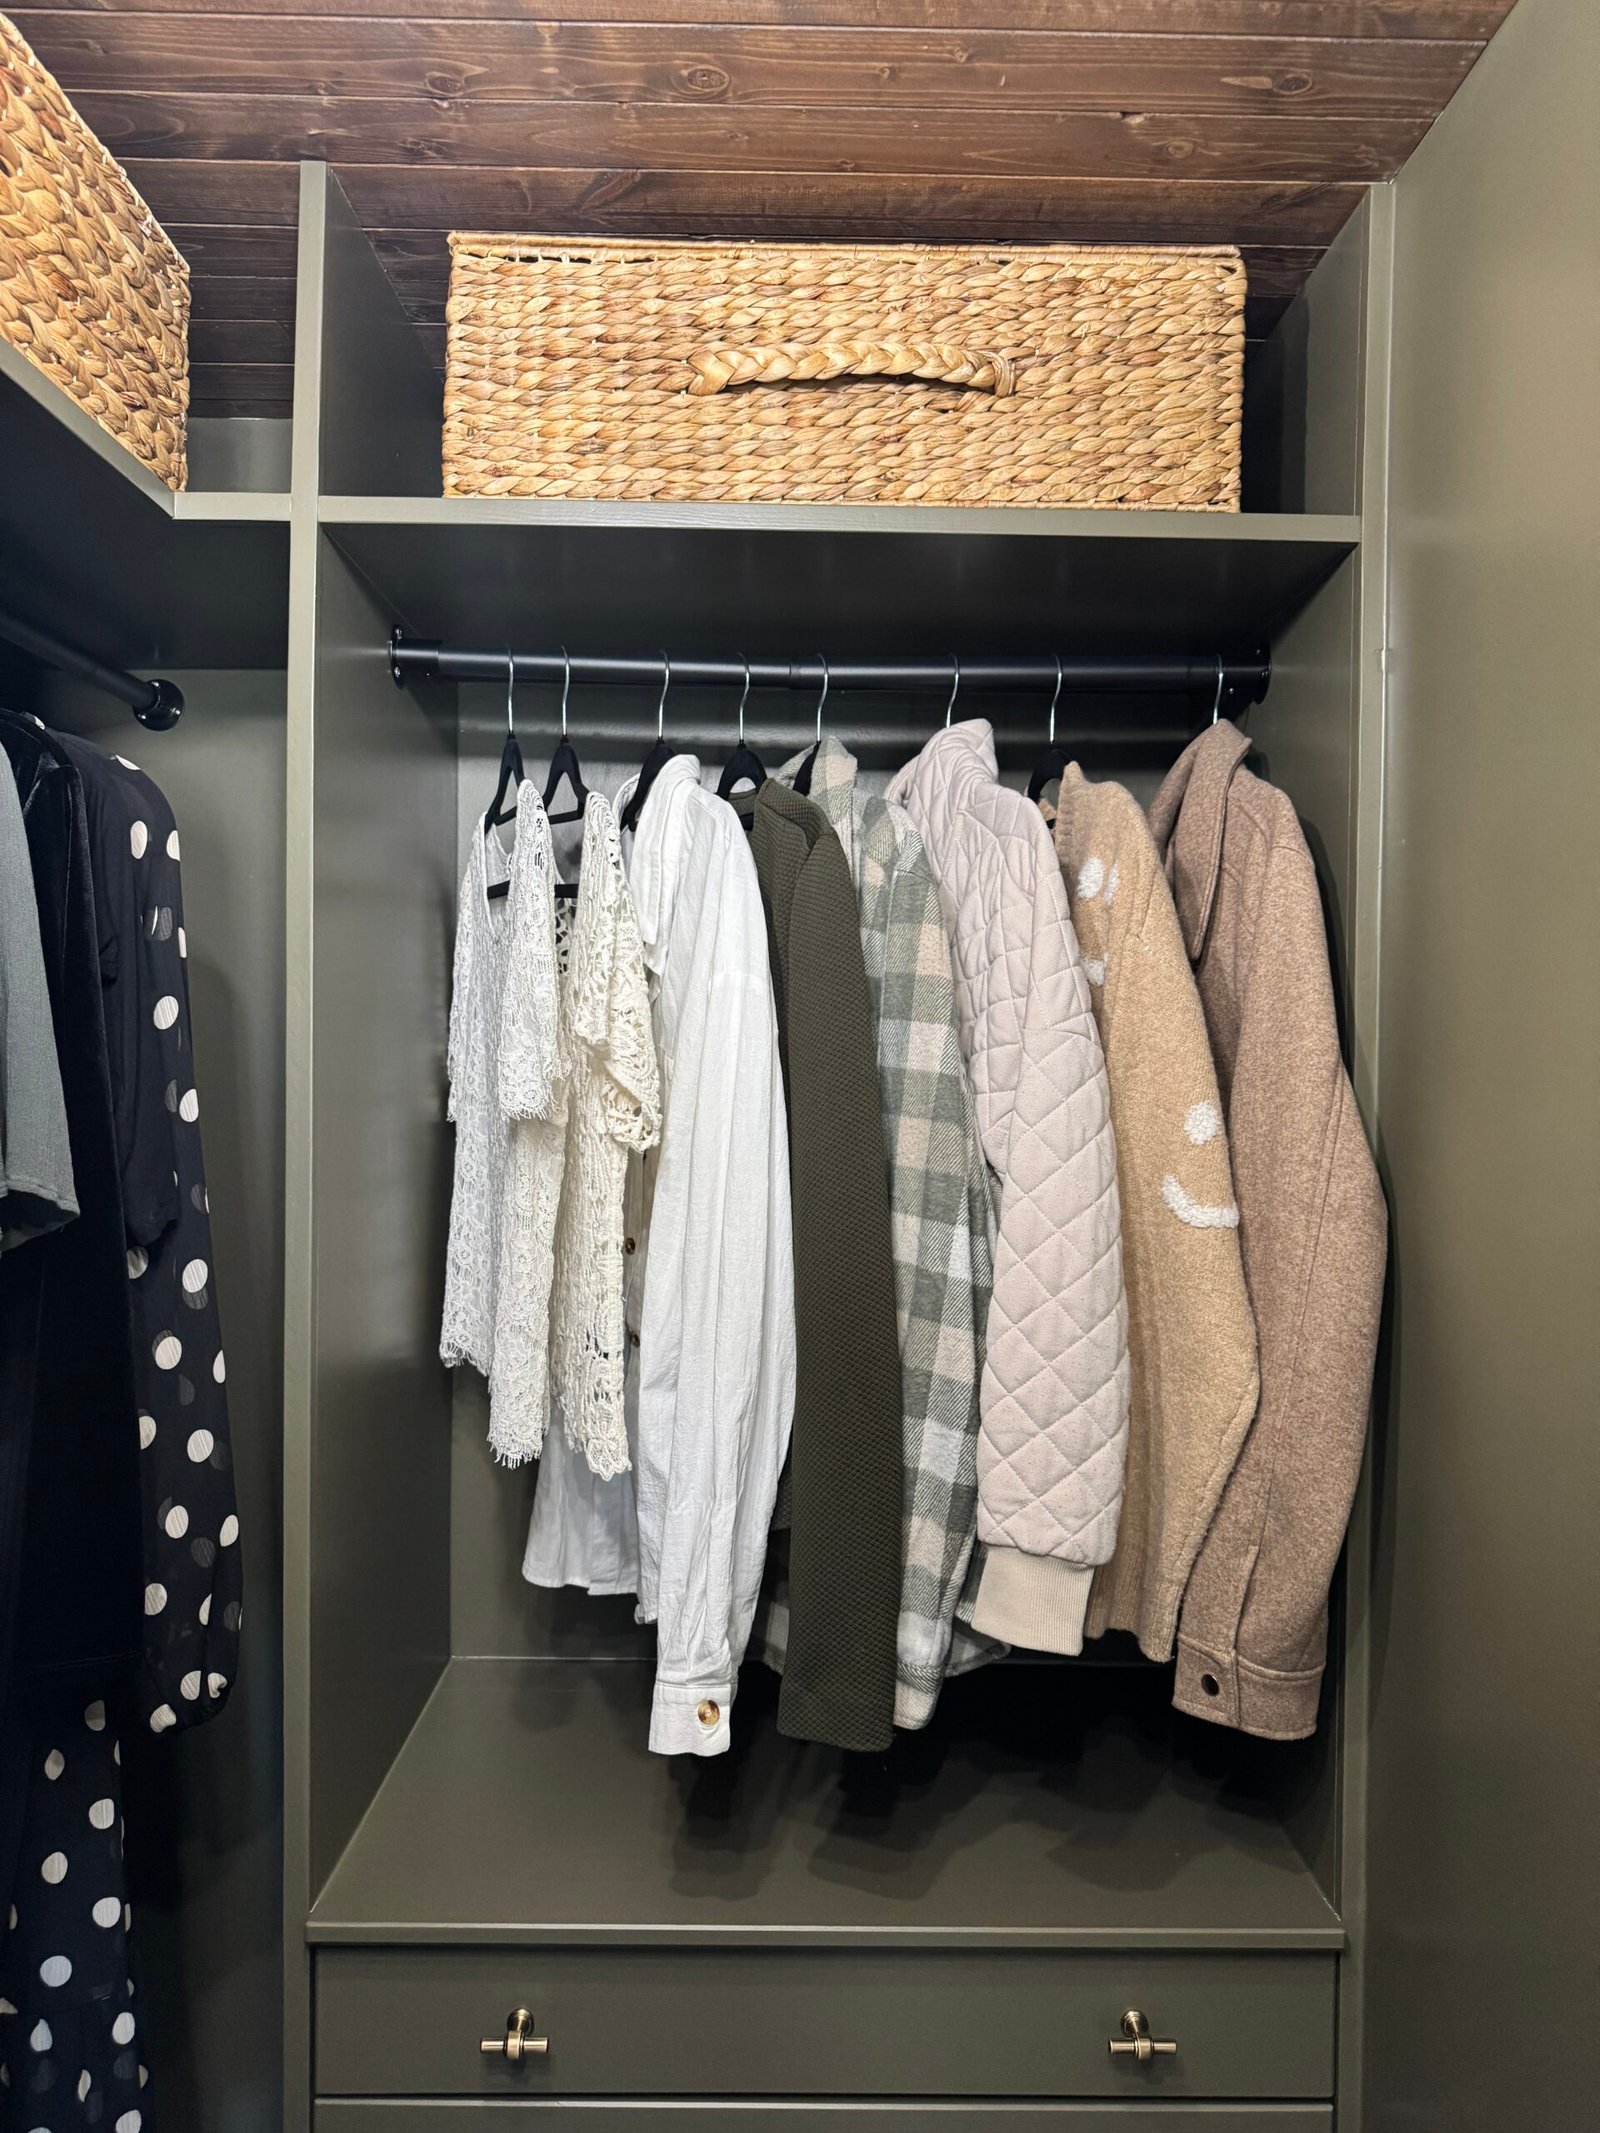
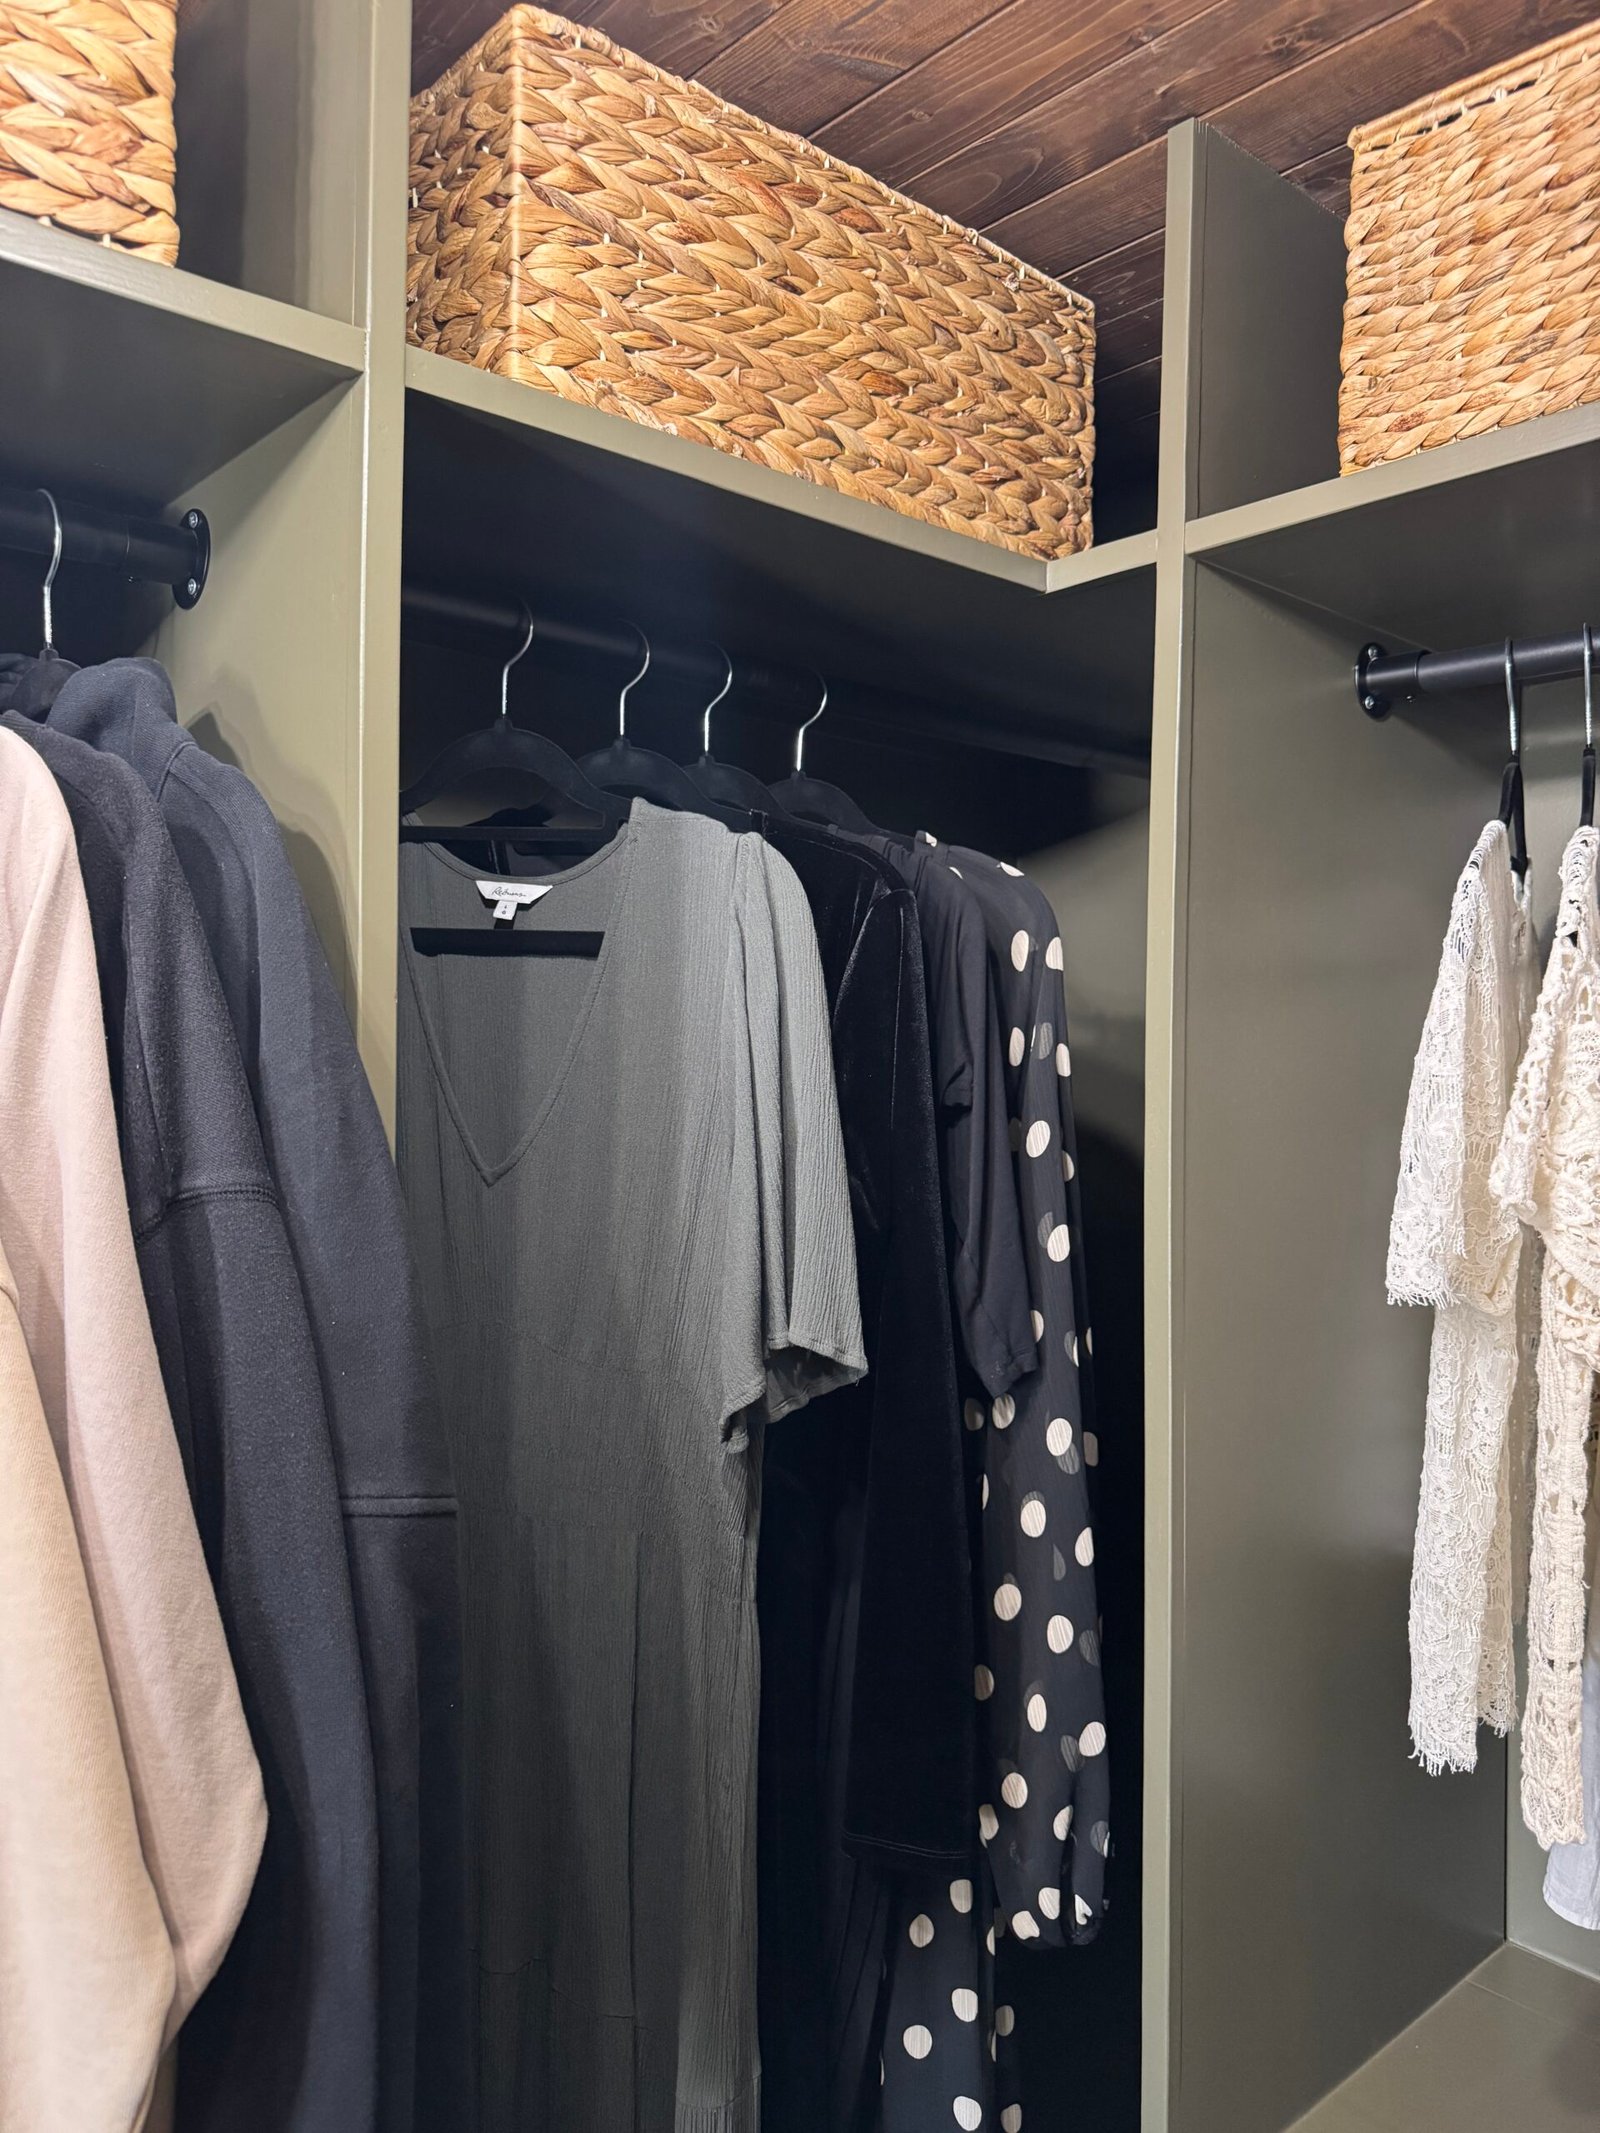
- Floor-to-Ceiling Built-Ins
- Swing-Arm Light for Easy Attic Access
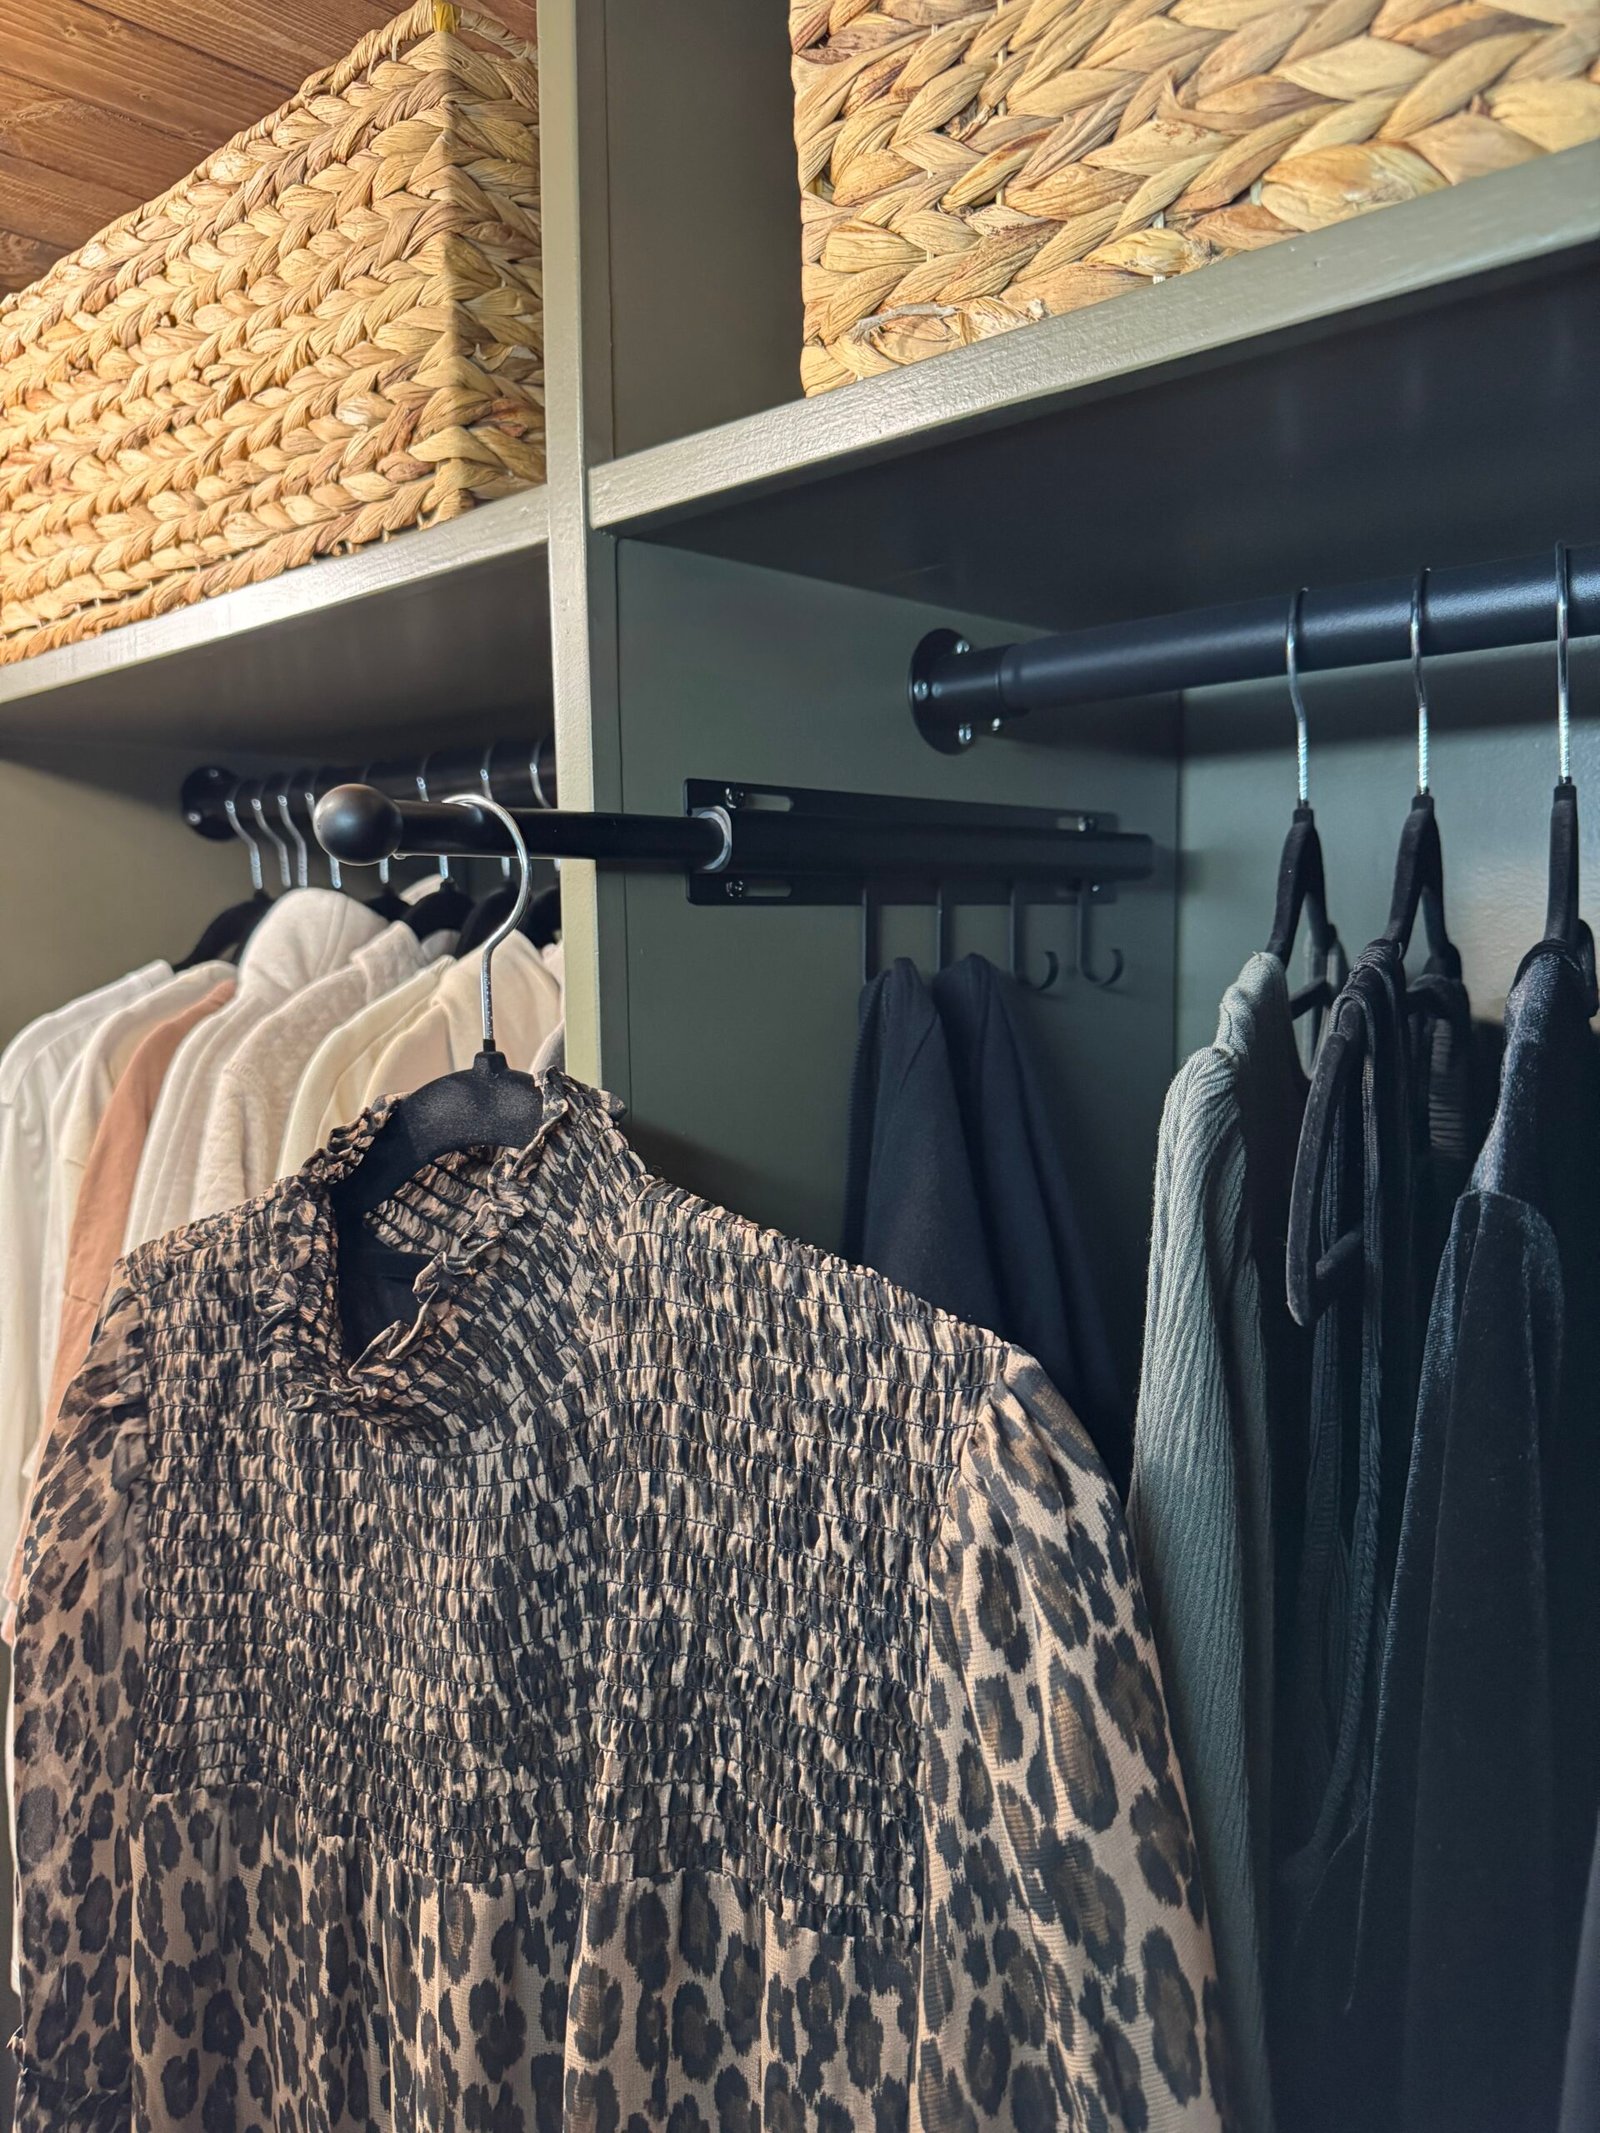
- Double & Long-Hang Zones
BEHIND THE BUILD
Every build starts with a problem to solve. For me, this one began with a closet that simply didn’t work… wire racks that wasted space, piles that never stayed folded and a ceiling hatch I needed to keep accessible without sacrificing style.
I wanted to create a space that felt high-end but was built with real-life tools and materials — a project that proved custom doesn’t have to mean complicated. What started as a blank slate quickly became a layered build: a planked ceiling to disguise attic access, IKEA dressers turned into seamless built-ins and double and long-hang zones tailored to our actual wardrobe.
Instead of pre-building boxes and installing them, I assembled each section as I went… adjusting, refining and problem-solving in real time. It was slower, but it allowed the design to evolve naturally and fit the space with precision.
By the time I finished the final coat of paint and installed the swing-arm light above the planked ceiling, I realized it wasn’t just a closet anymore — it was a space that worked as hard as I do, designed with intention from top to bottom.
If you’ve been waiting for the “right time” to start your own dream project, this is it. Begin where you are and let every board, bracket and brave choice build your confidence.
Frequently Asked
Join my newsletter!
Get DIY tips, project inspo, and behind-the-scenes realness—plus a reminder that you’re more capable than you think.